Worked Example — DJ Pallet Table
The clearest way to learn the process is to watch it run on a real project. This is the DJ Pallet Table — a mobile DJ booth built entirely from reclaimed pallets for an outdoor venue patio.
Collaborators: Benny (owner, Commission Beer Chamber) · Juni Ali (co-build) · Luiz Wagner Mestrinho (Absolutely Plausible)
The build at a glance:
| What | A DJ table with a recessed cutout for a mixer, on caster wheels |
| Where | Commission Beer Chamber, Orlando — outdoor patio |
| Material | 100% upcycled pallets |
| Build span | 30 days · Apr 15 – May 14, 2026 · 11 working sessions |
| Photos | 33 archived |
| Status | Near-final — mixer cutout confirmed, final cut + install pending |
The build maps cleanly onto the 9-step process. Here it is, step by step.
Steps 1–2 · Source + Inspect
12
Pallets collected and checked for safety before anything else. Raw pallets, stacked, before a single cut — every one inspected against the safety flow.
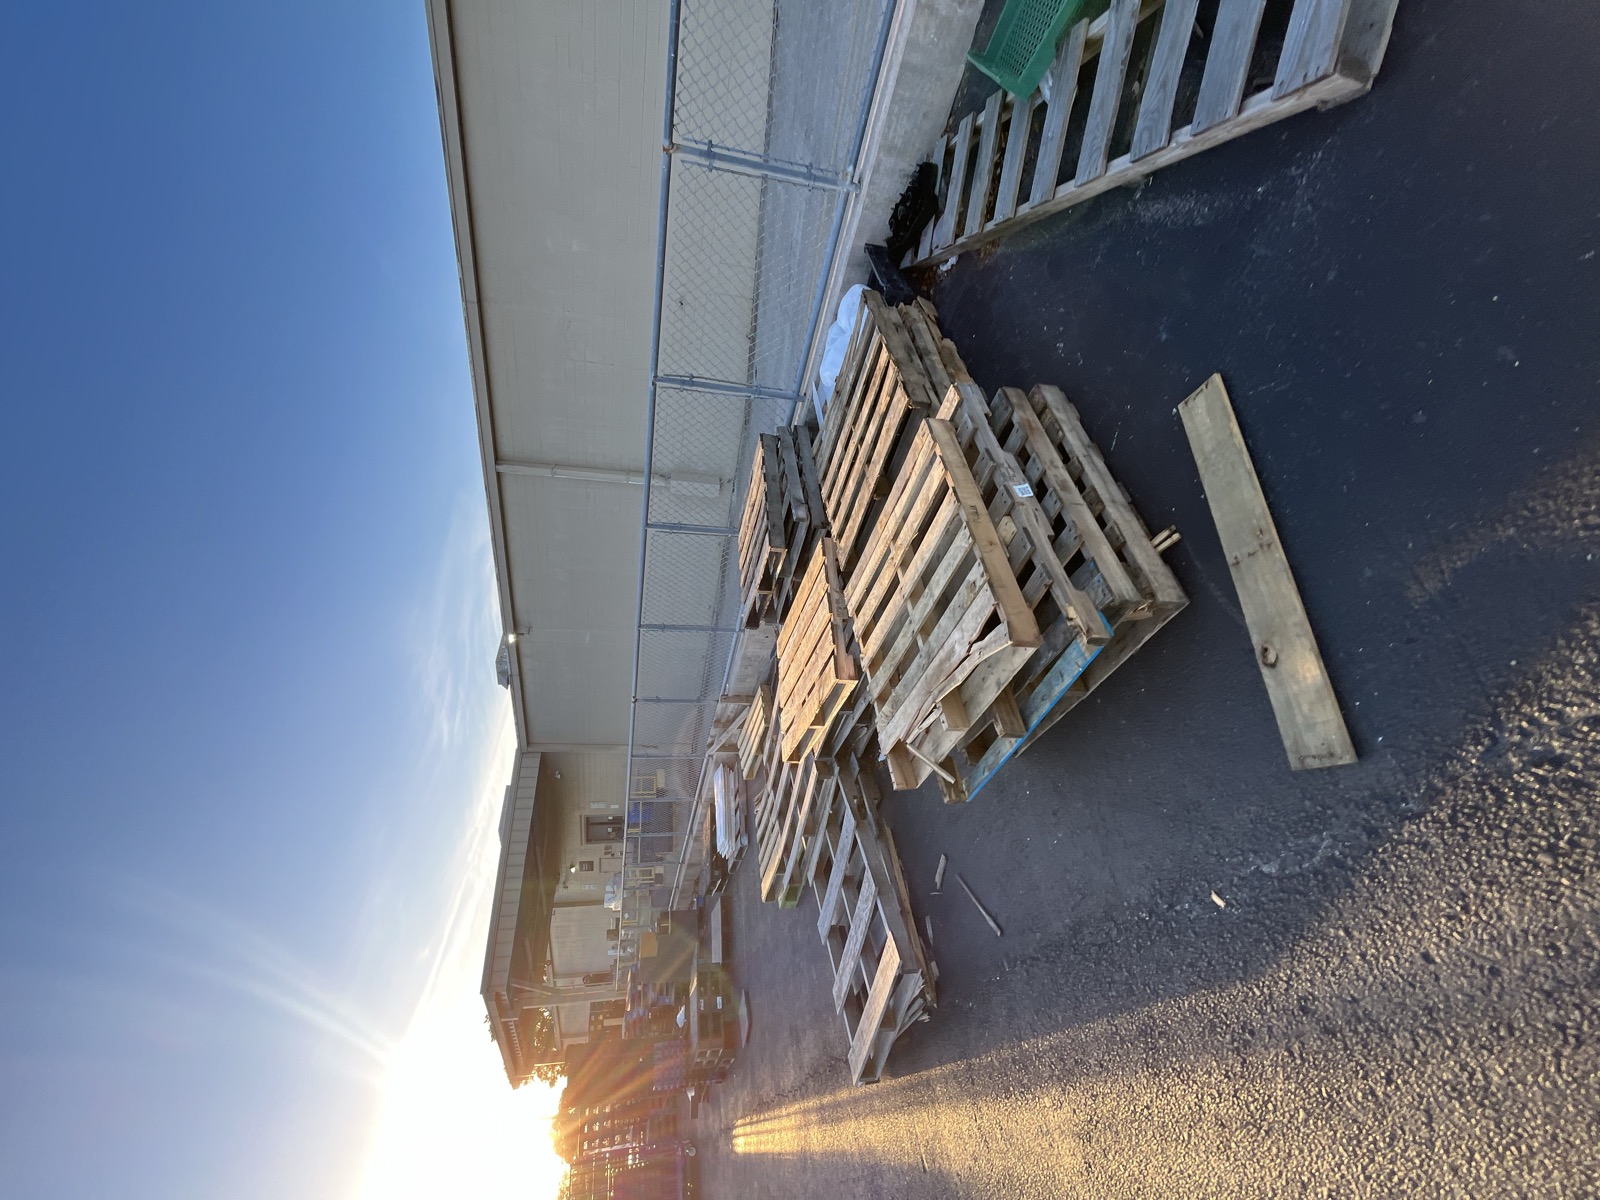
Takeaway: the project starts as a pile of free wood. Everything good comes from the prep that follows.
Steps 3–4 · Deconstruct + Prep
34
Pallets broken down into boards, nails removed, wood sorted and cleaned. (Deconstruction and prep are the least glamorous and most time-consuming part of any pallet build — budget for it.)
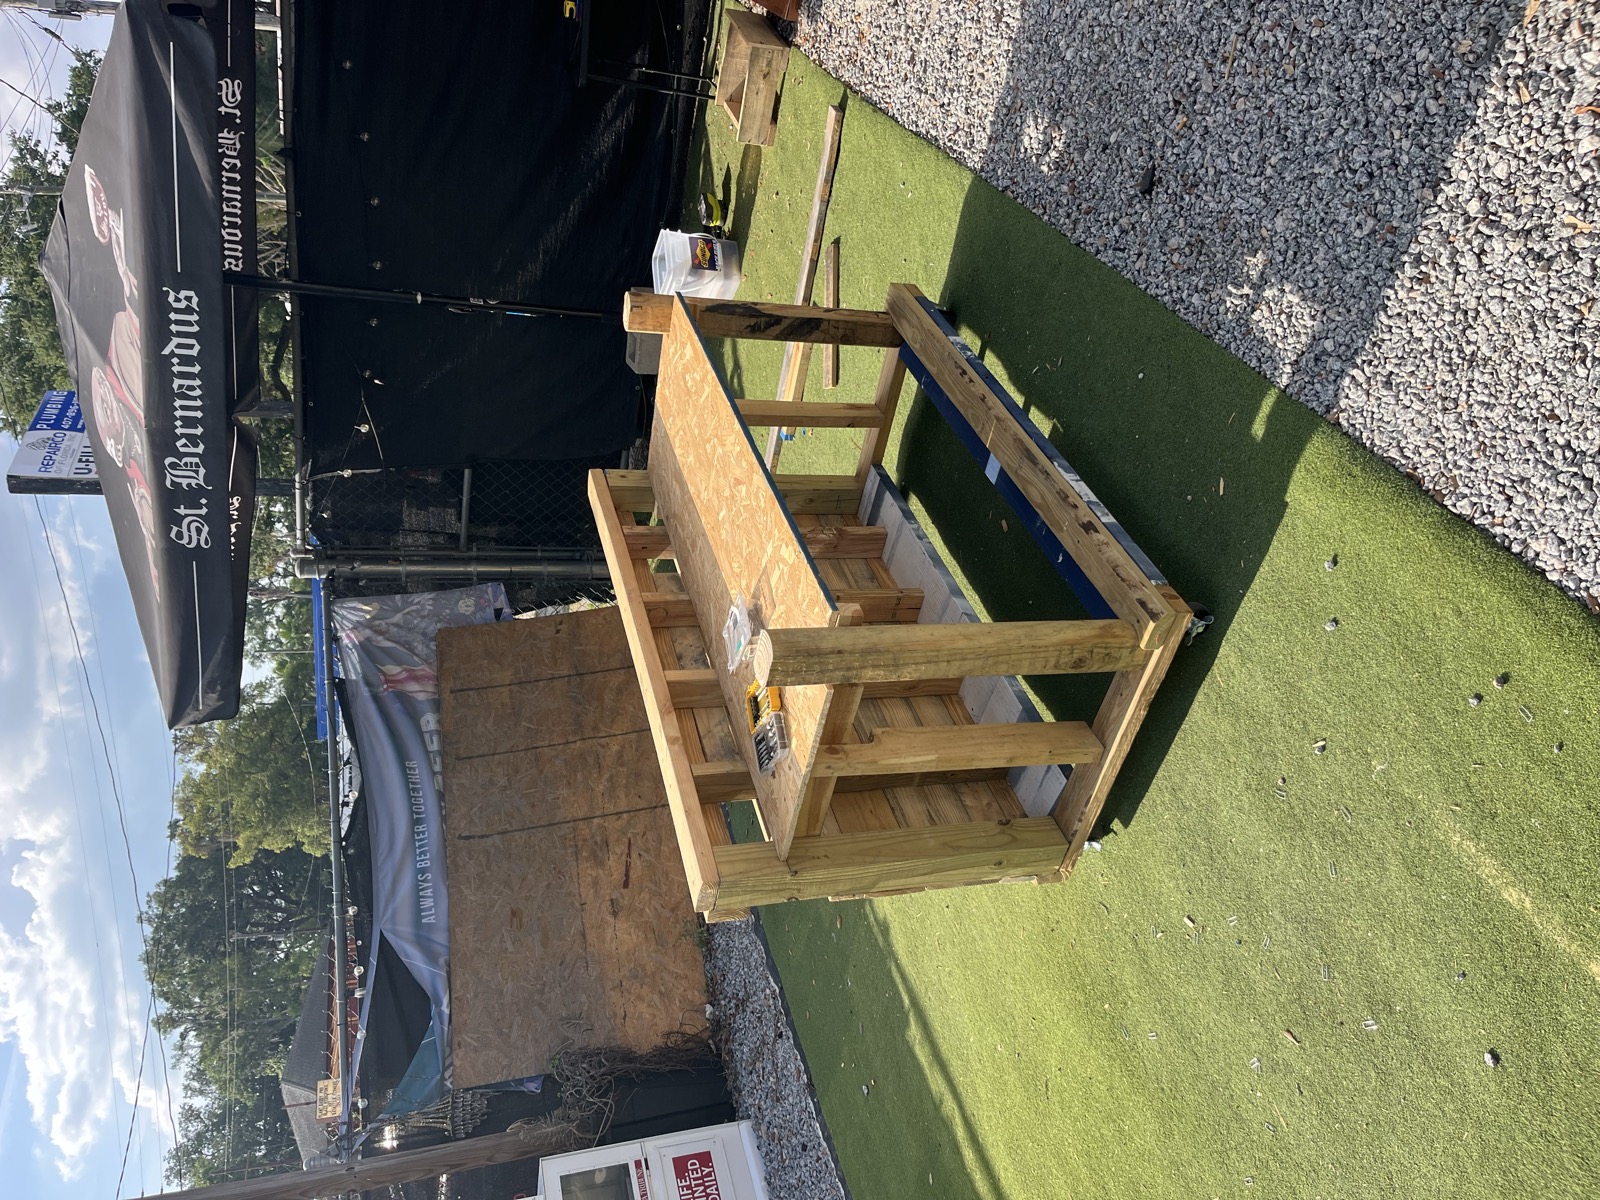
Step 5 · Design & Measure — the frame
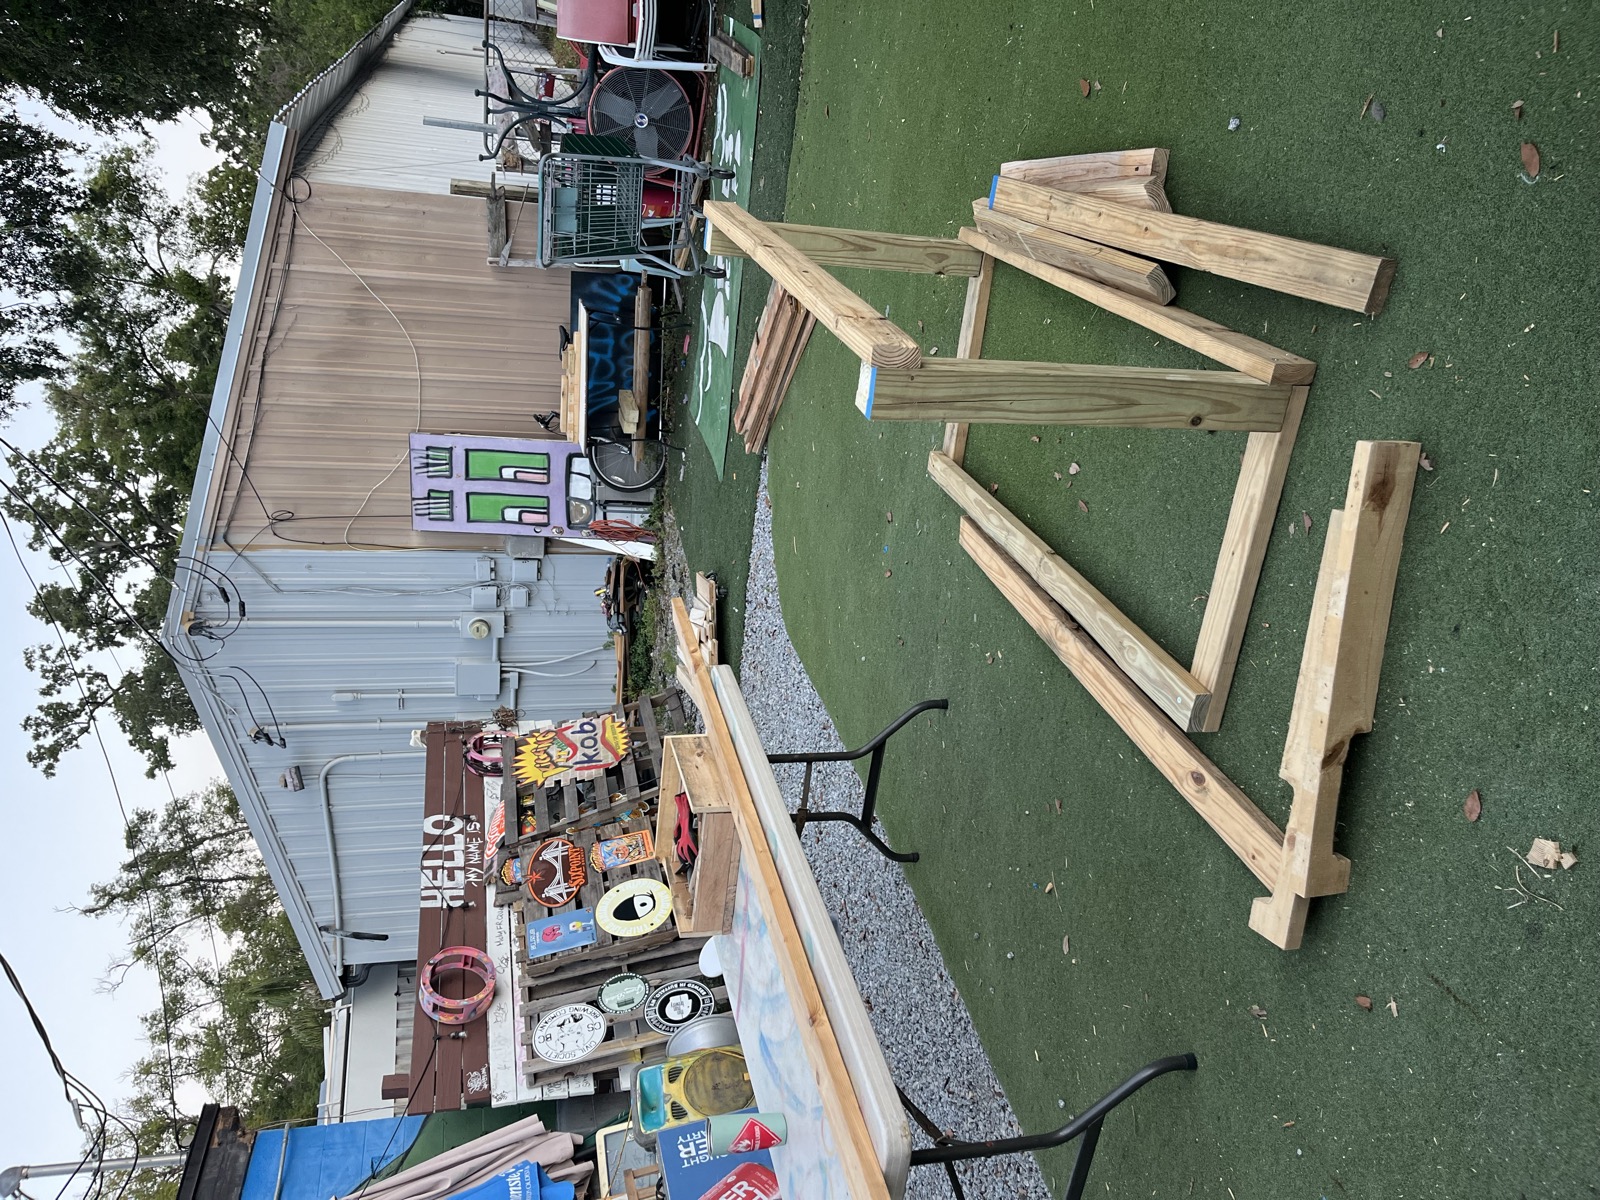
5
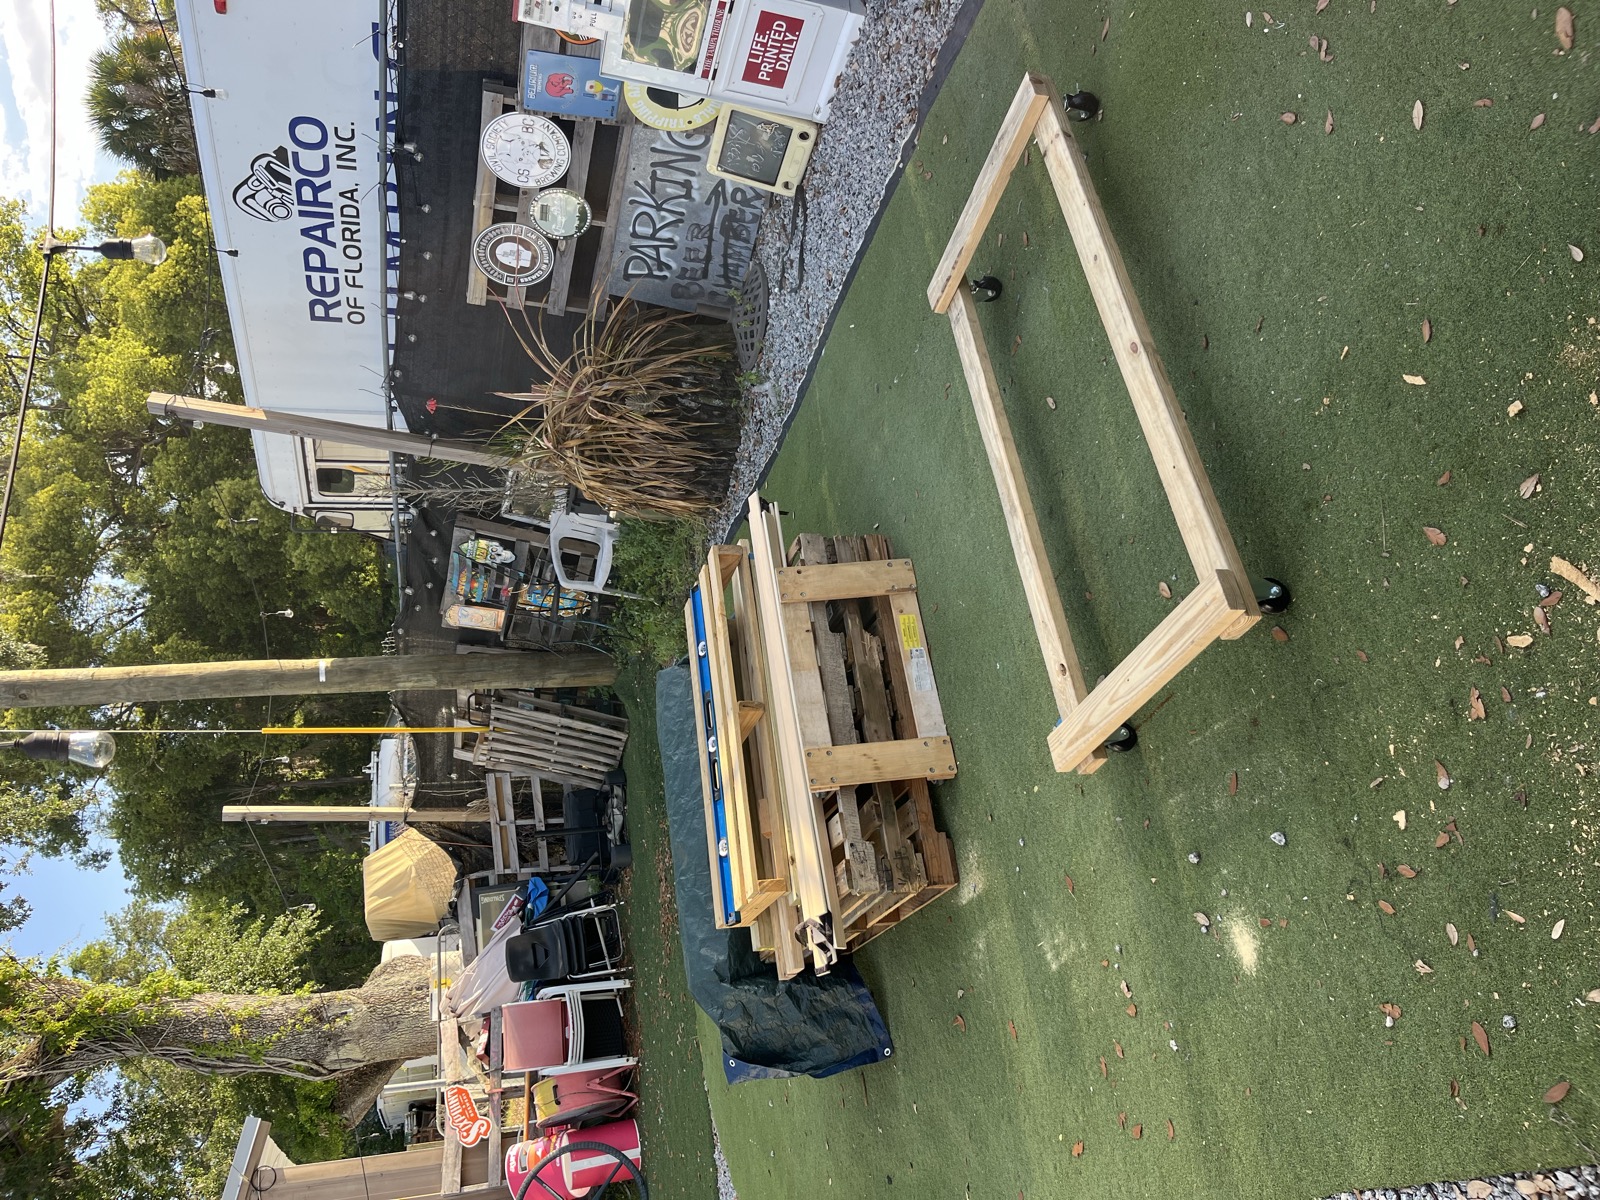
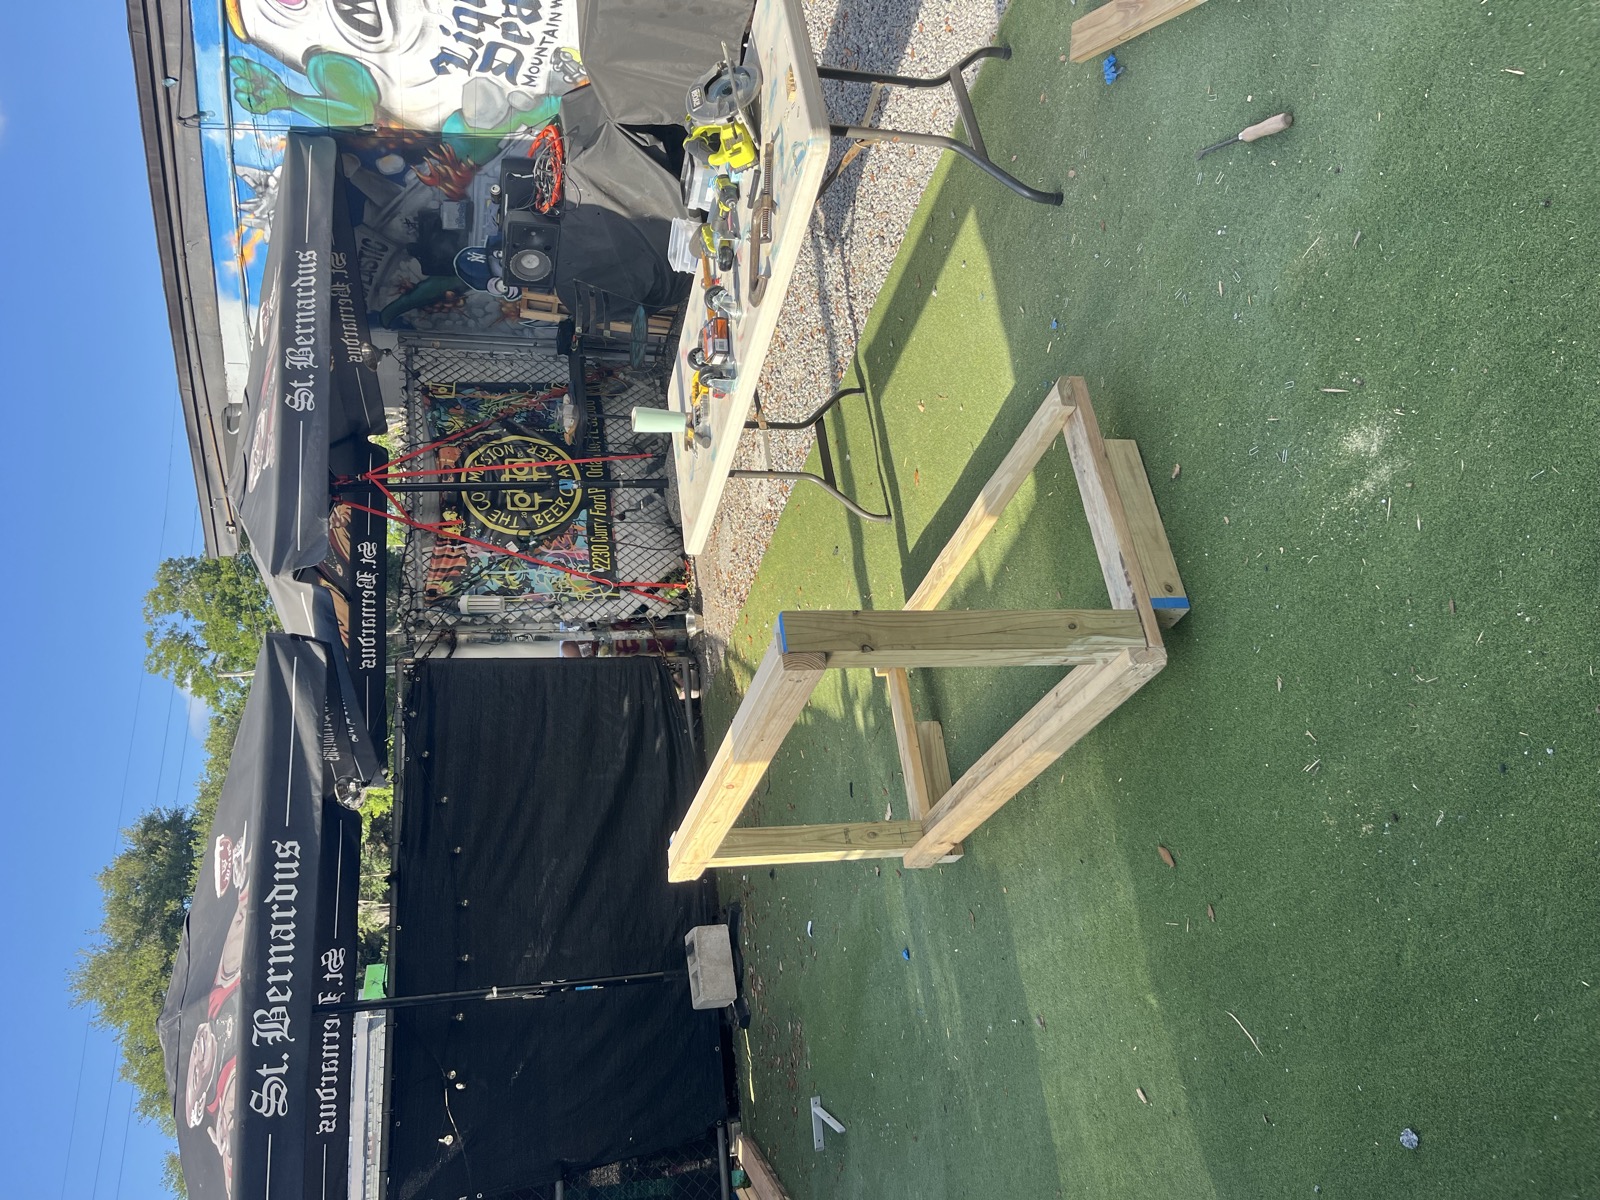
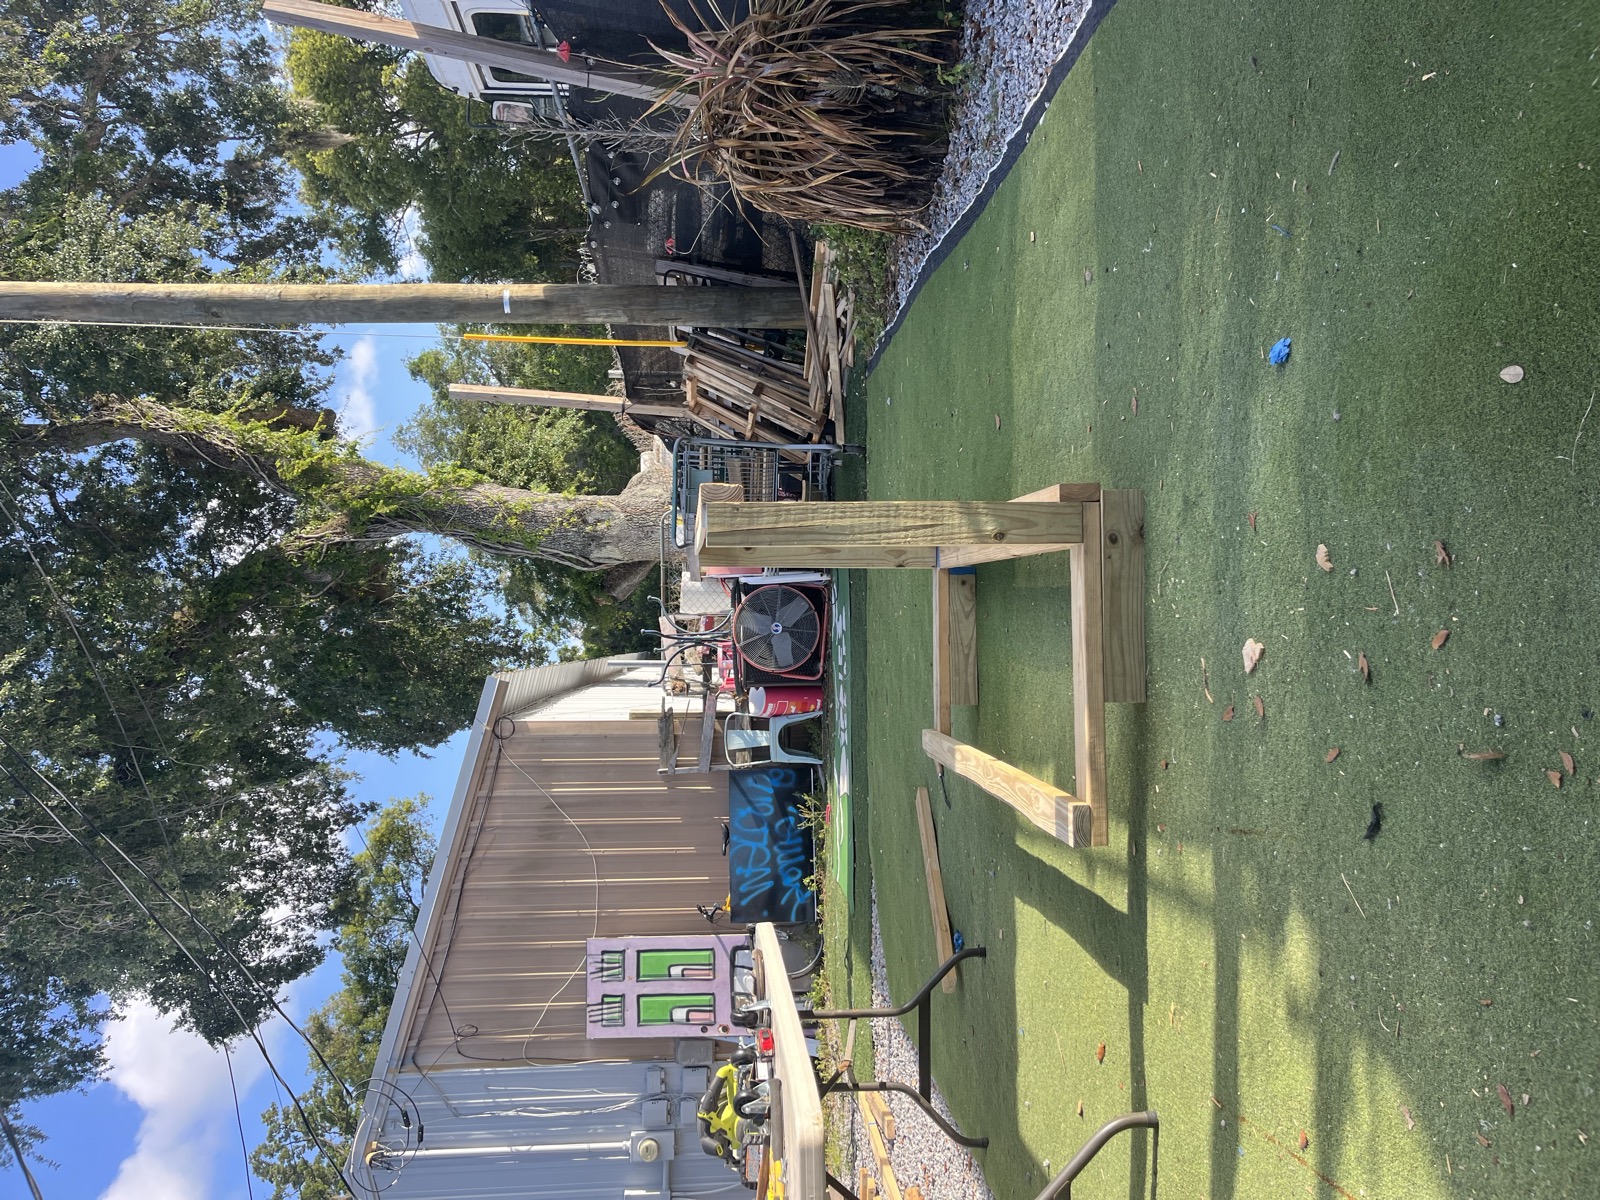
The build started with the structural frame — the skeleton that everything else attaches to. Caster wheels were planned in from the start, so the piece would be mobile.
Takeaway: build the structure first. The frame defines every measurement that follows. Hardware like wheels gets designed in early, not bolted on as an afterthought.
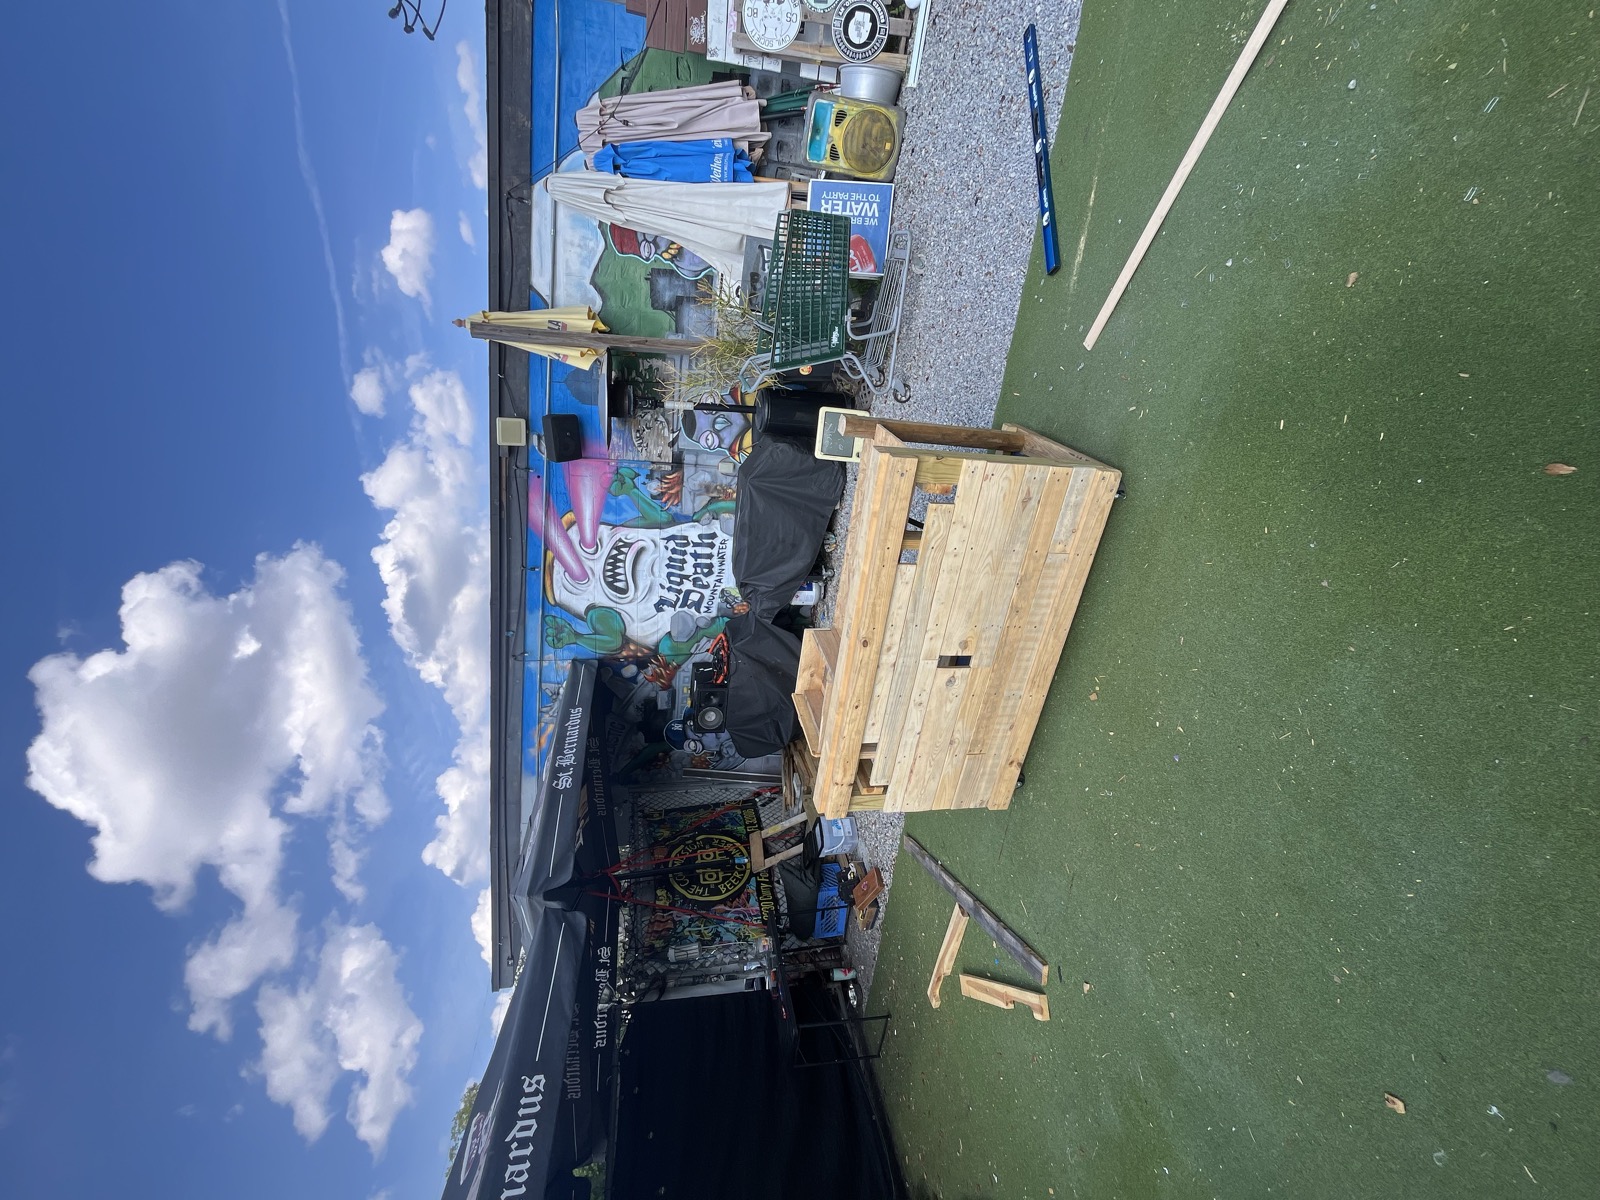
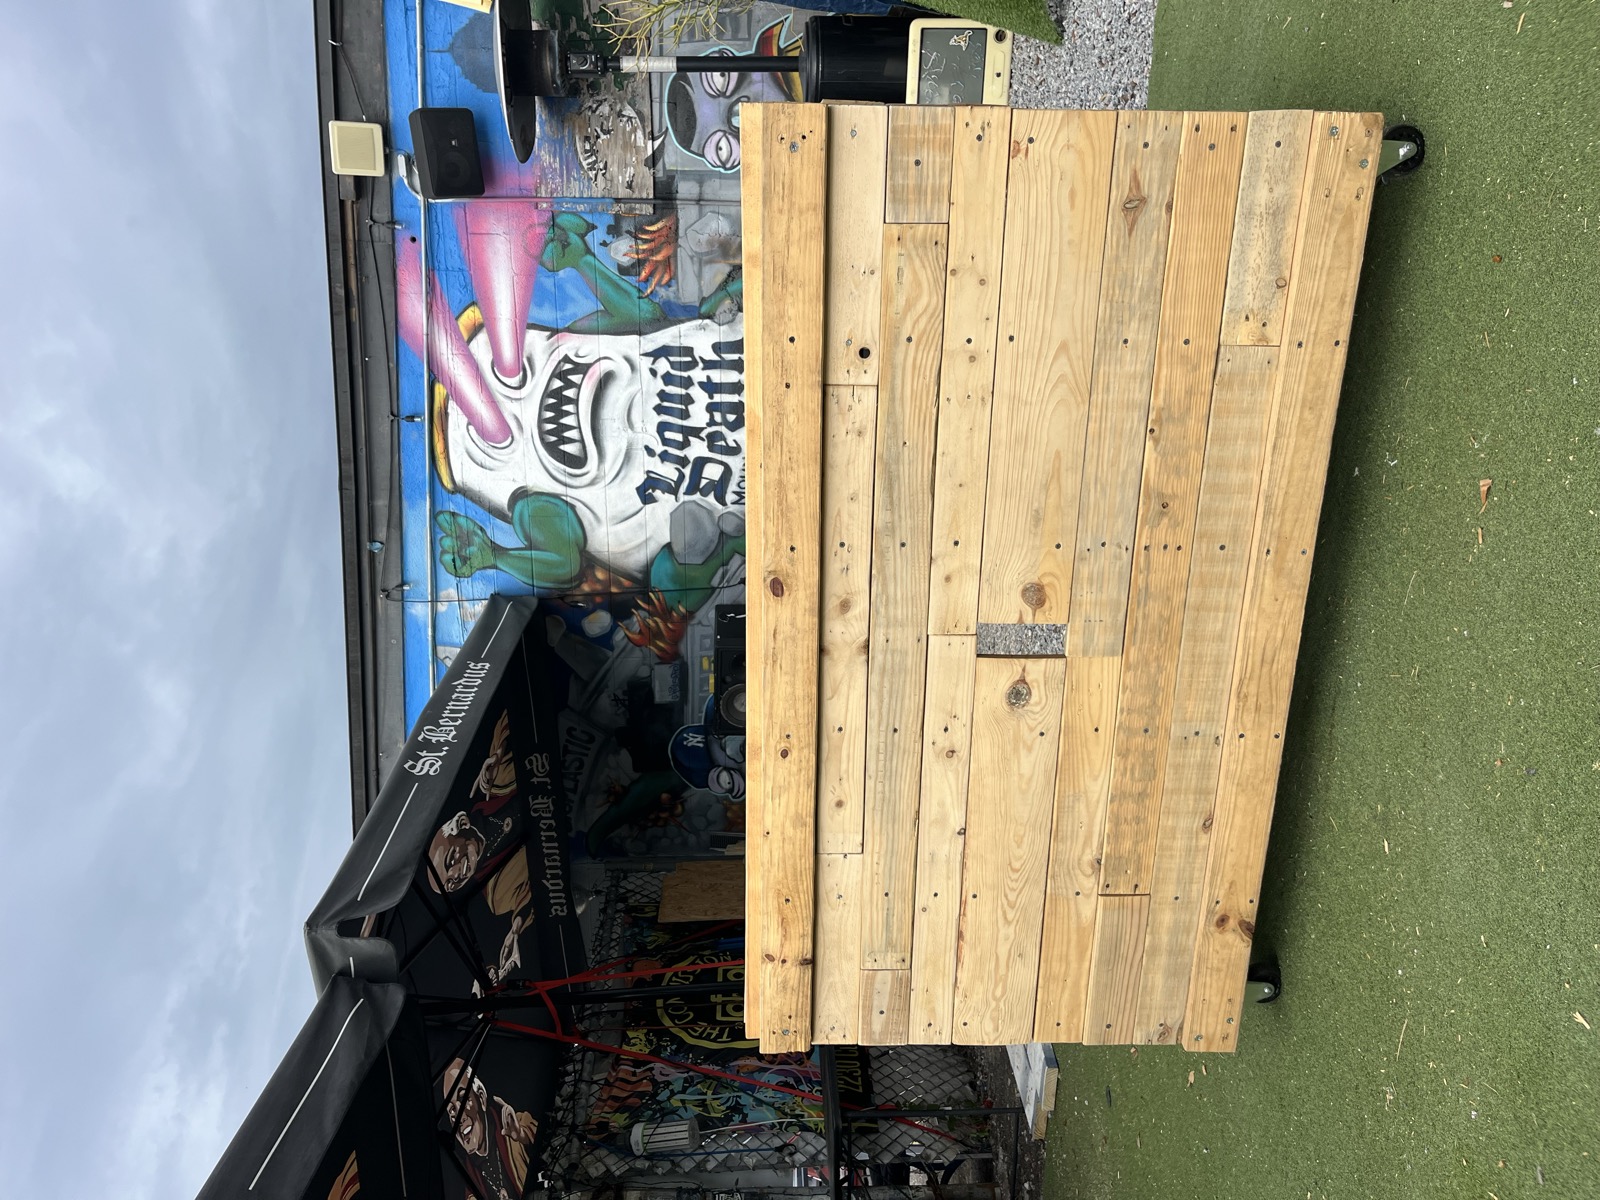
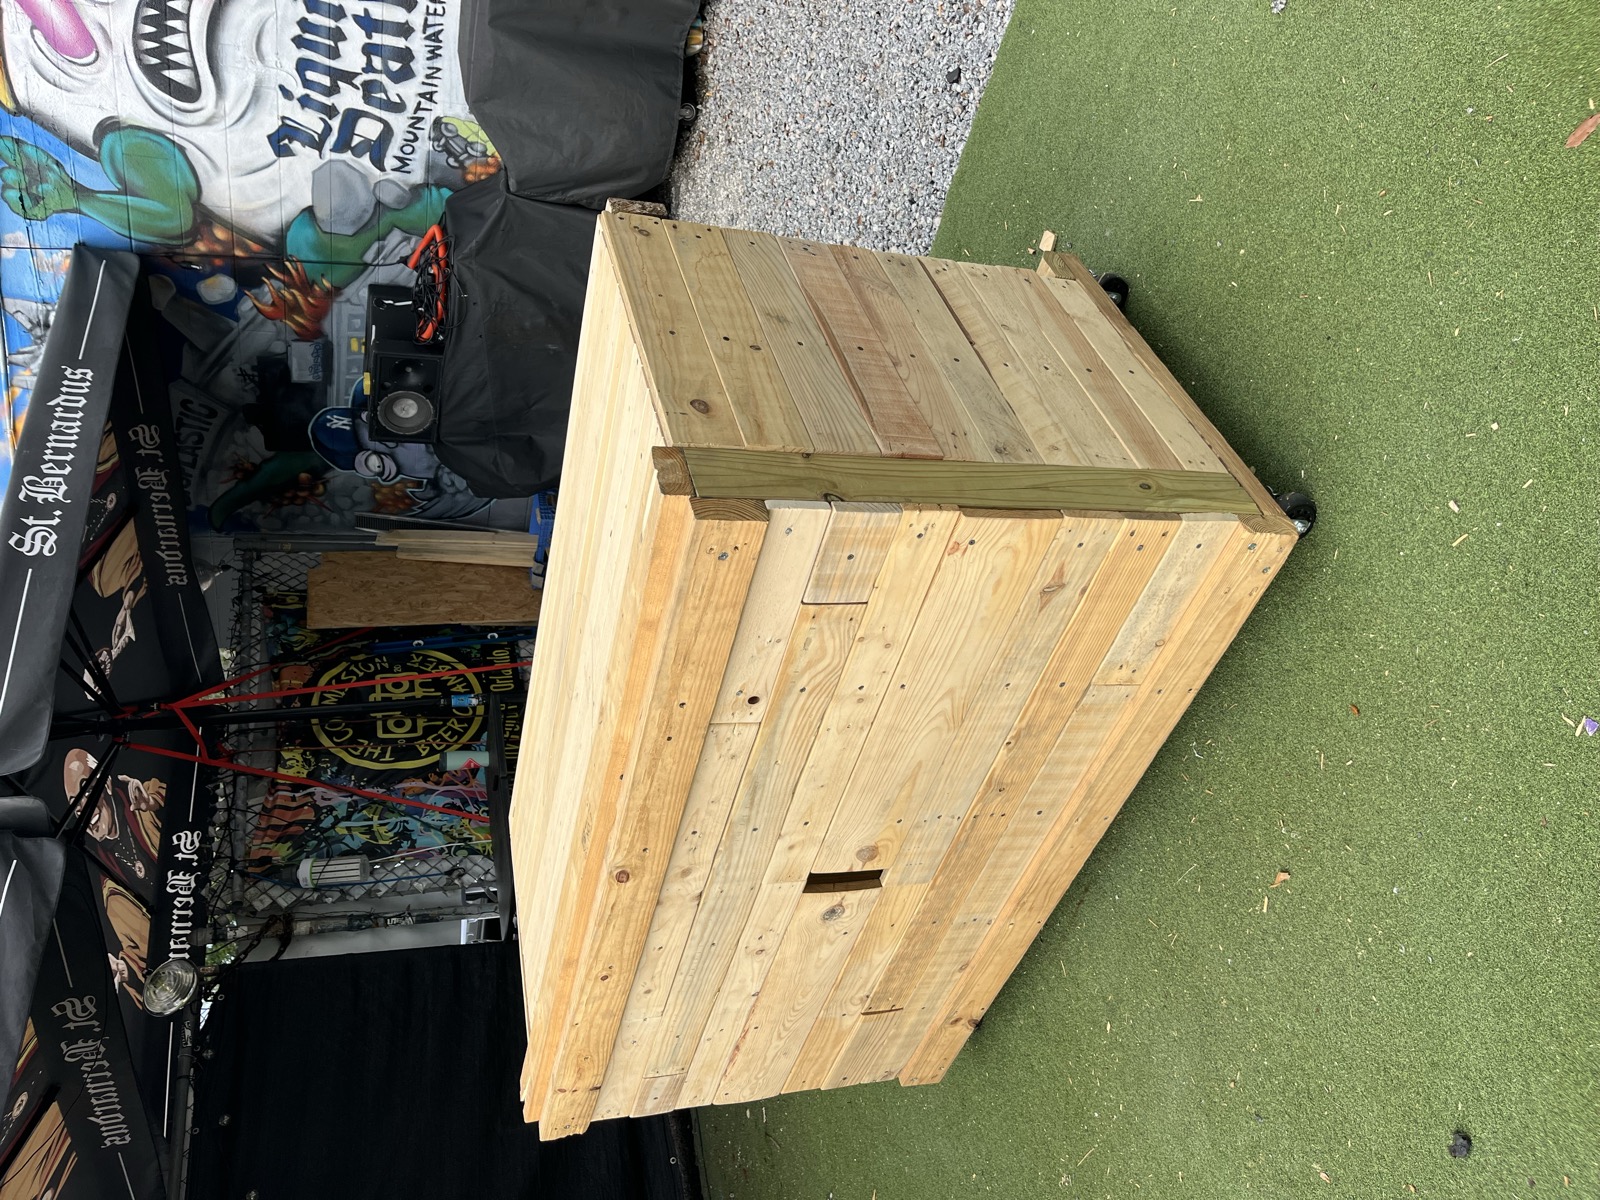
Steps 6–7 · Cut + Assemble — frame development
67
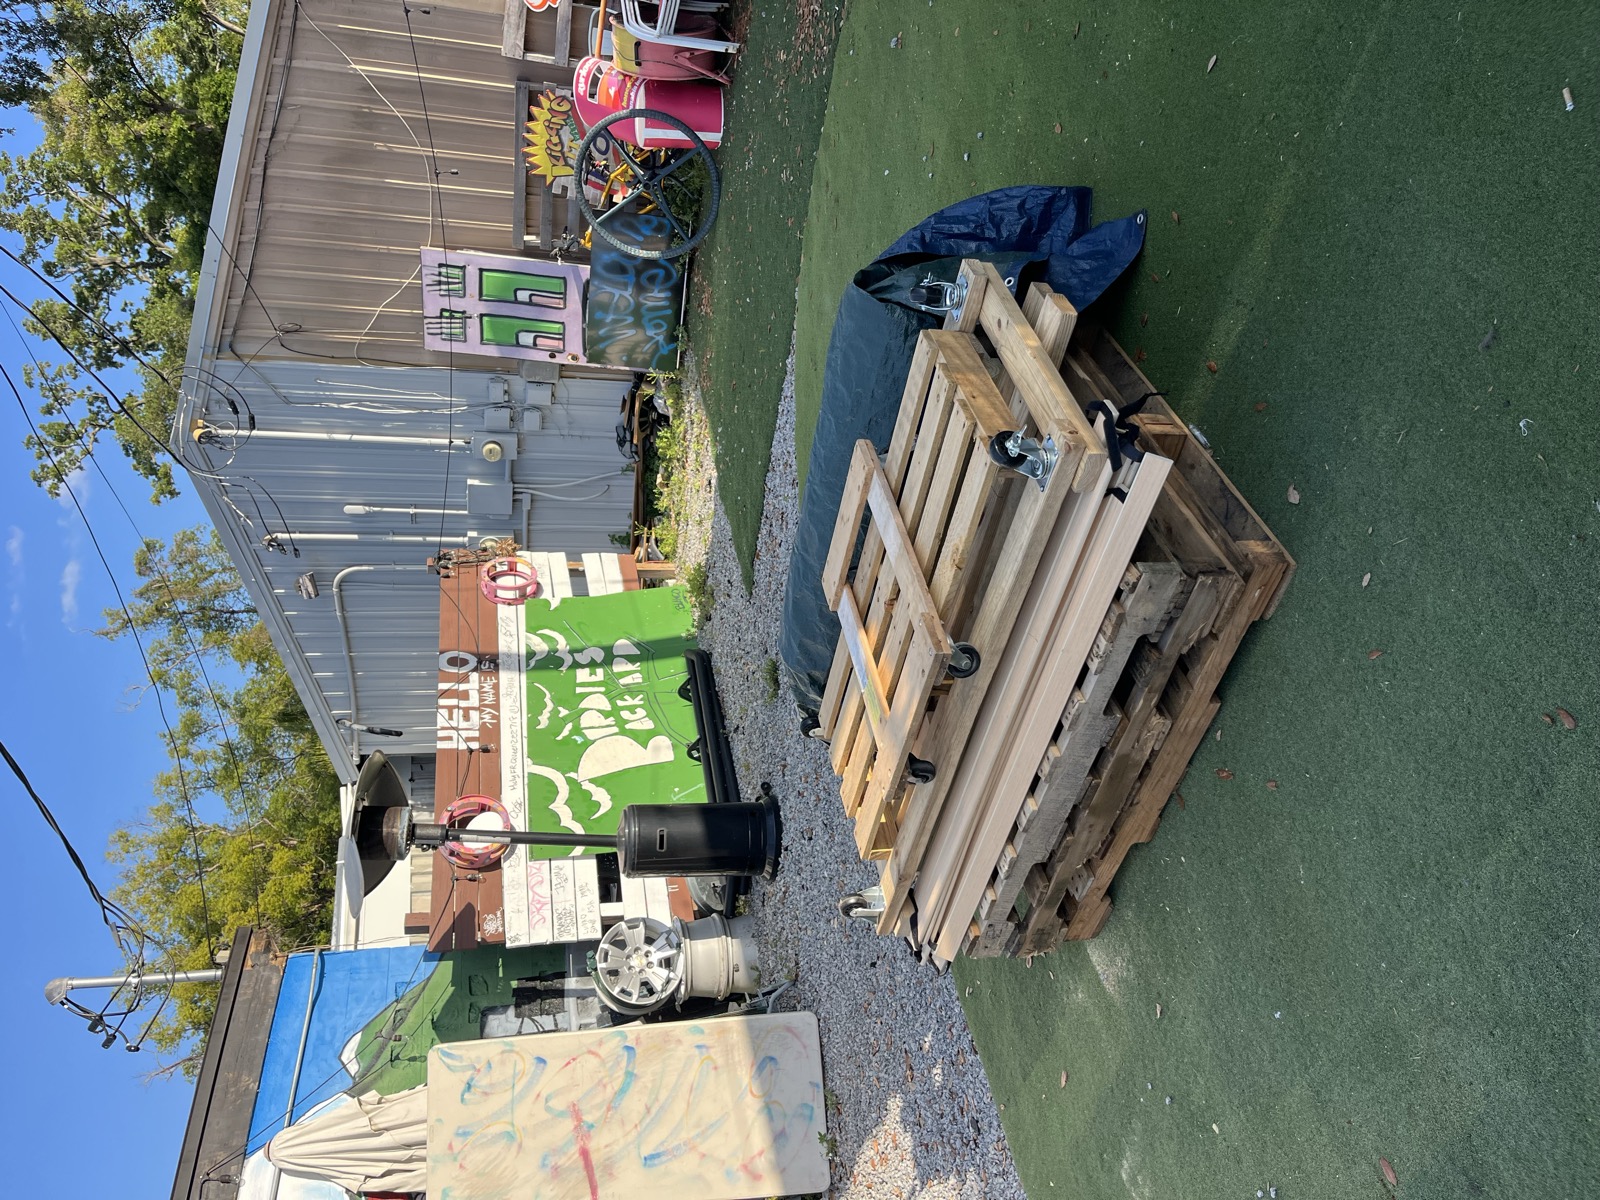
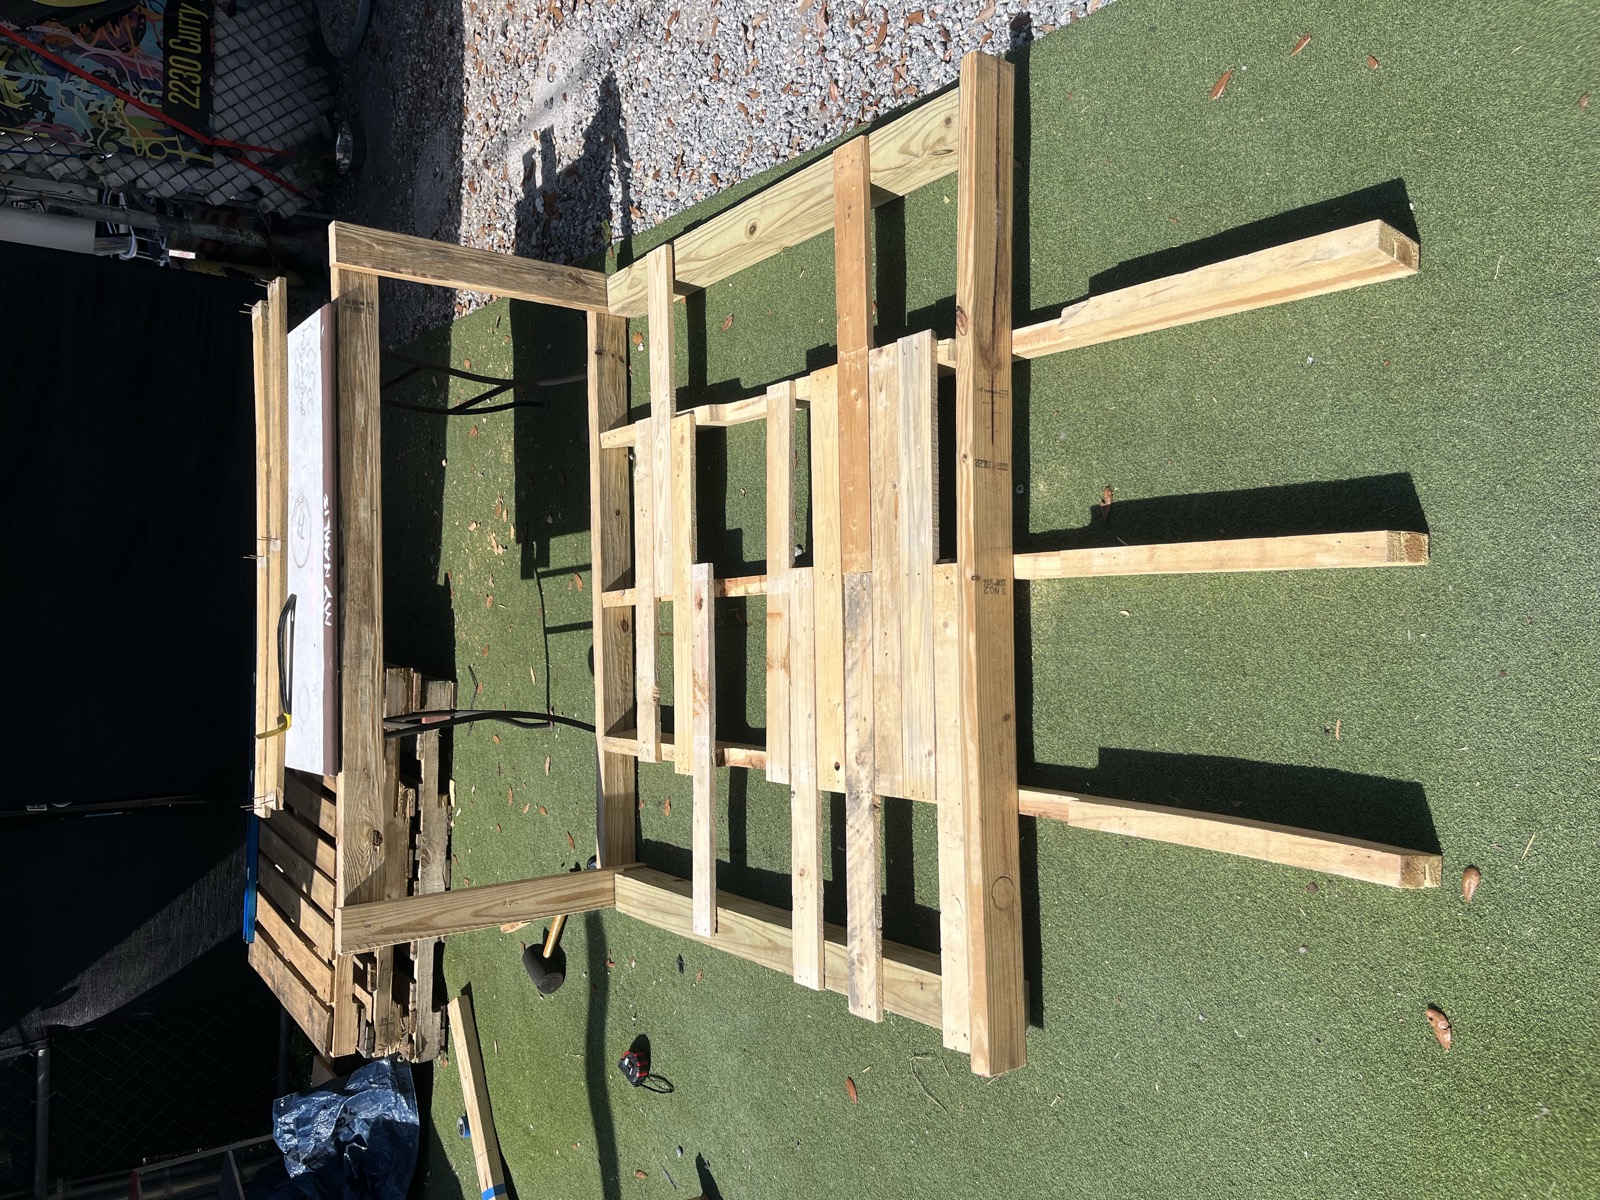
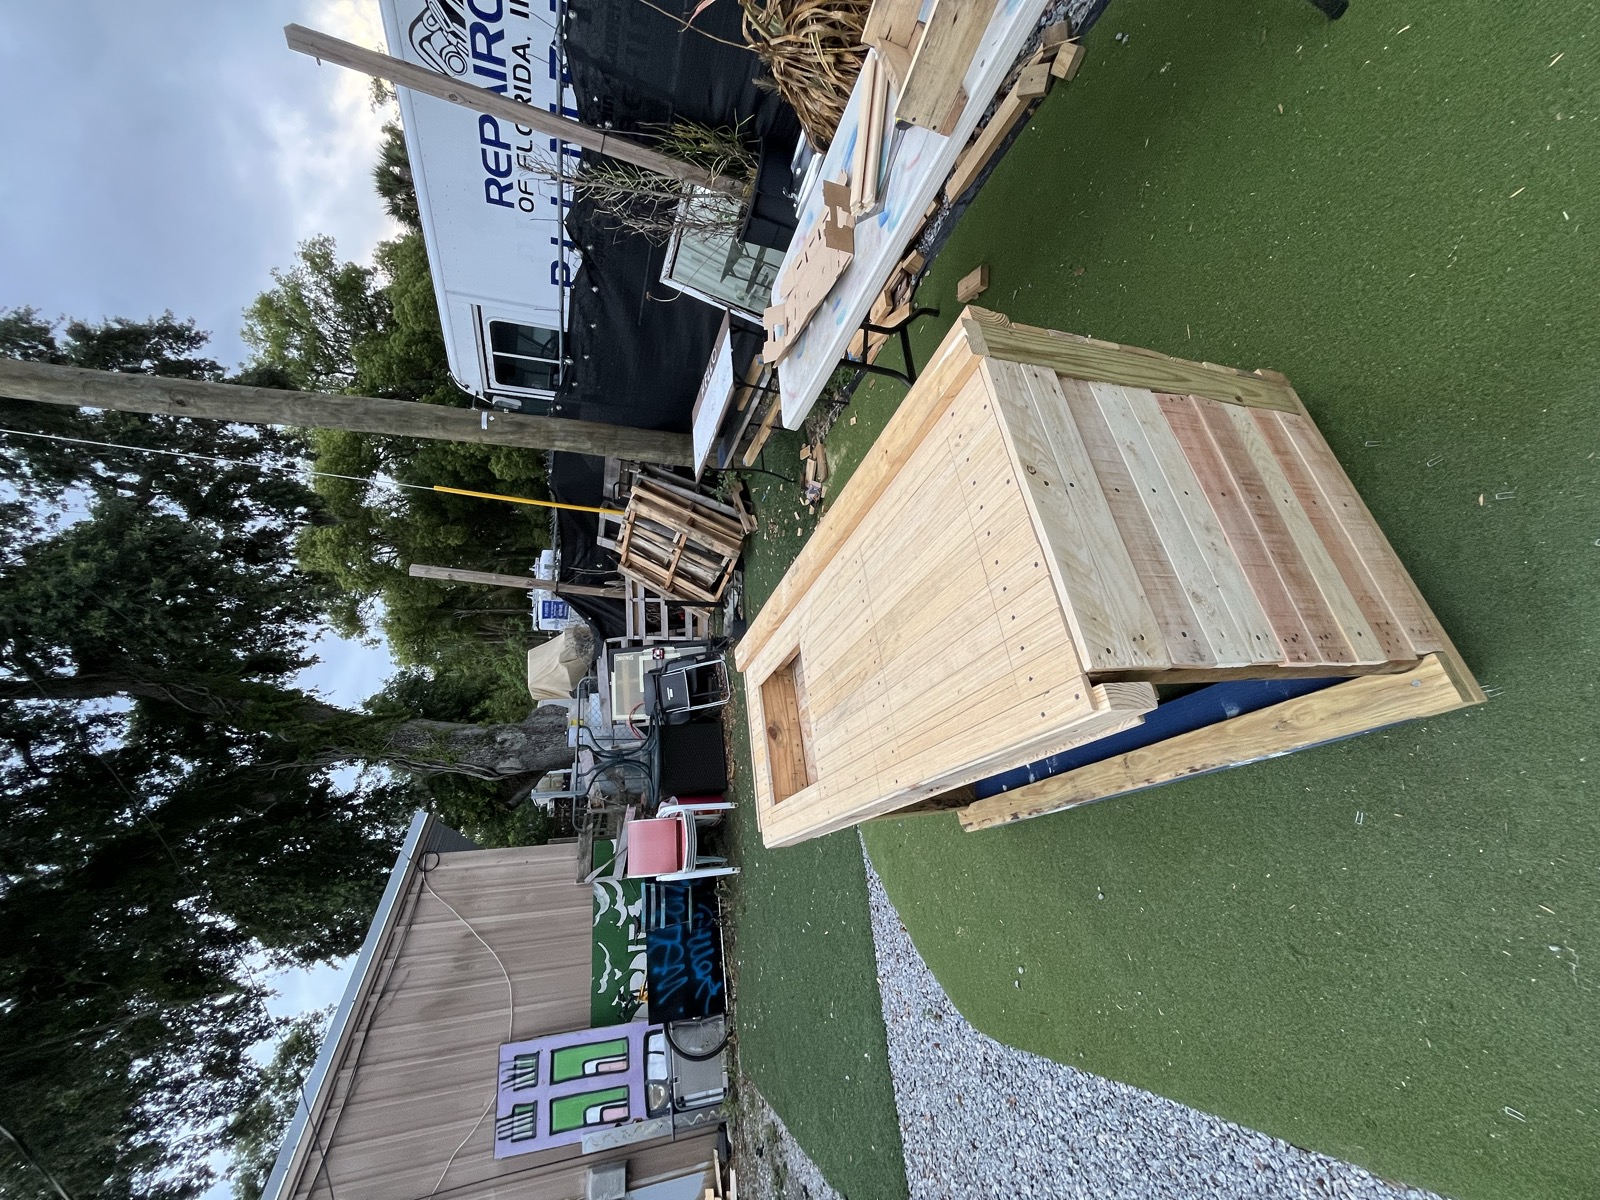
Frame developed on-site: vertical supports, cross-members, the load-bearing structure taking shape.
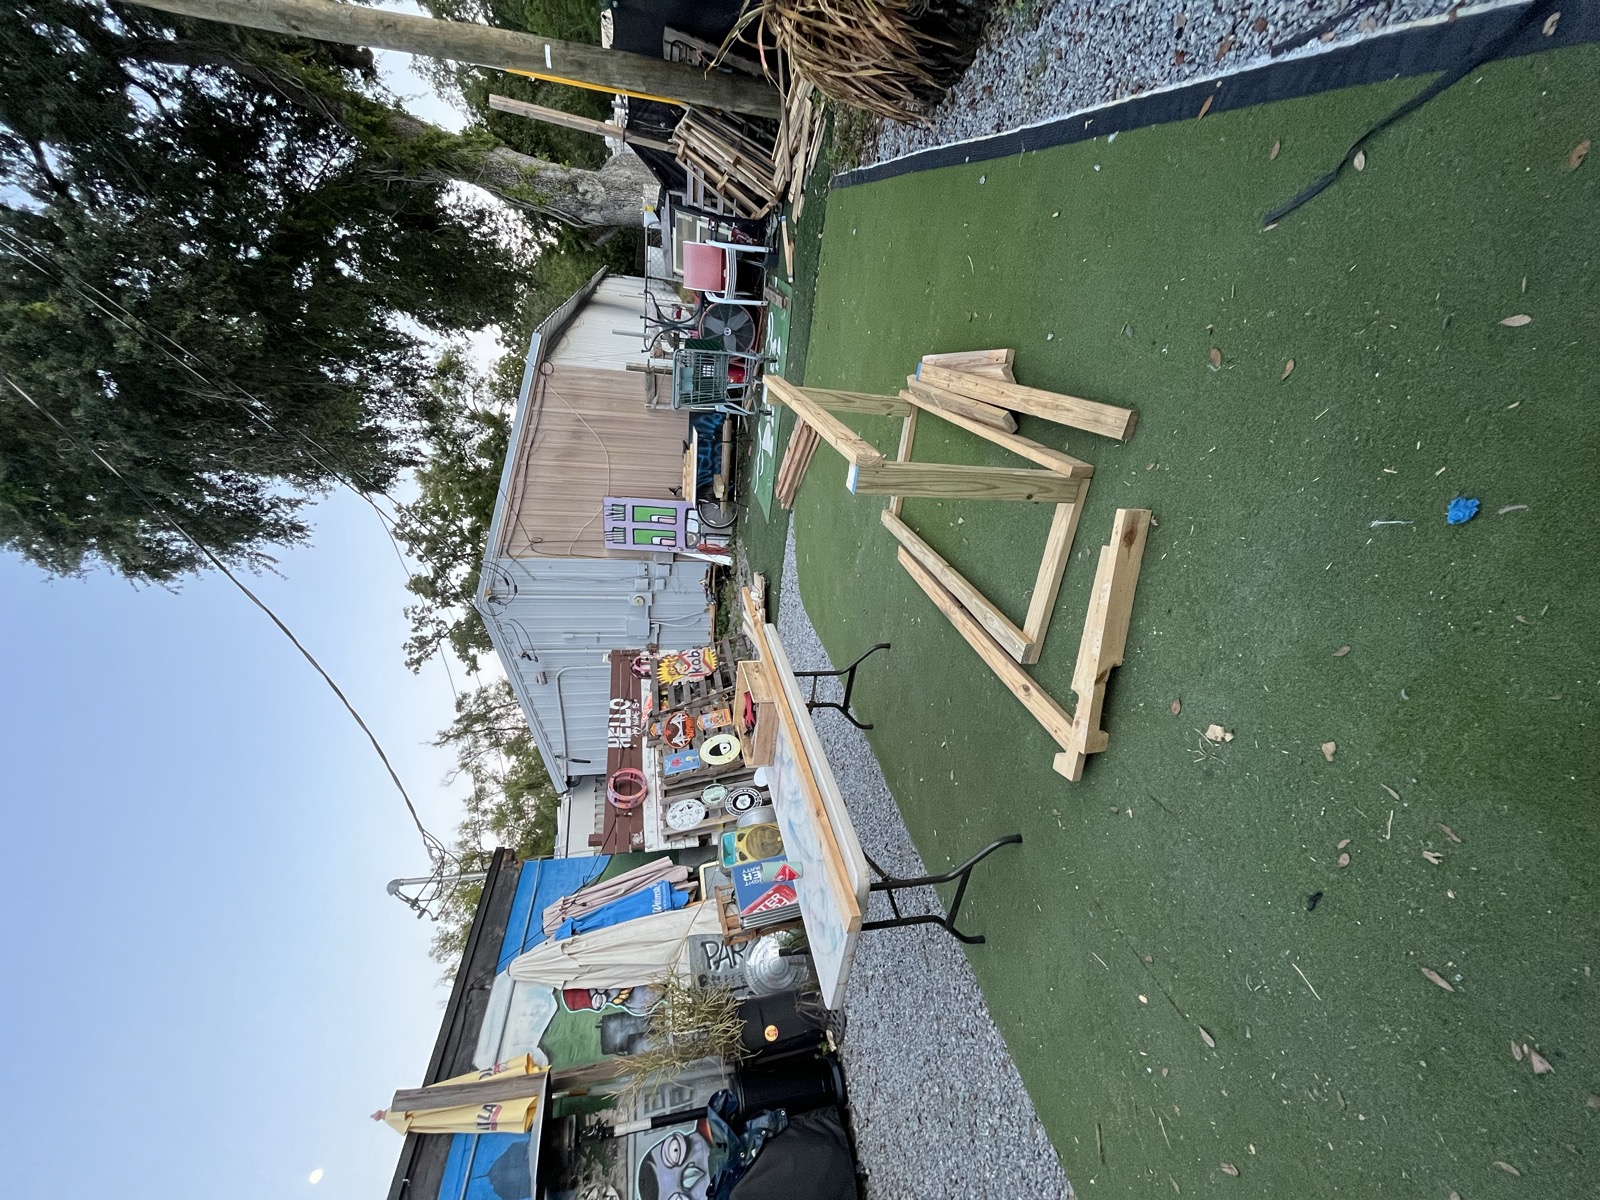
Then the top surface — pallet boards cut and laid to form the table top.
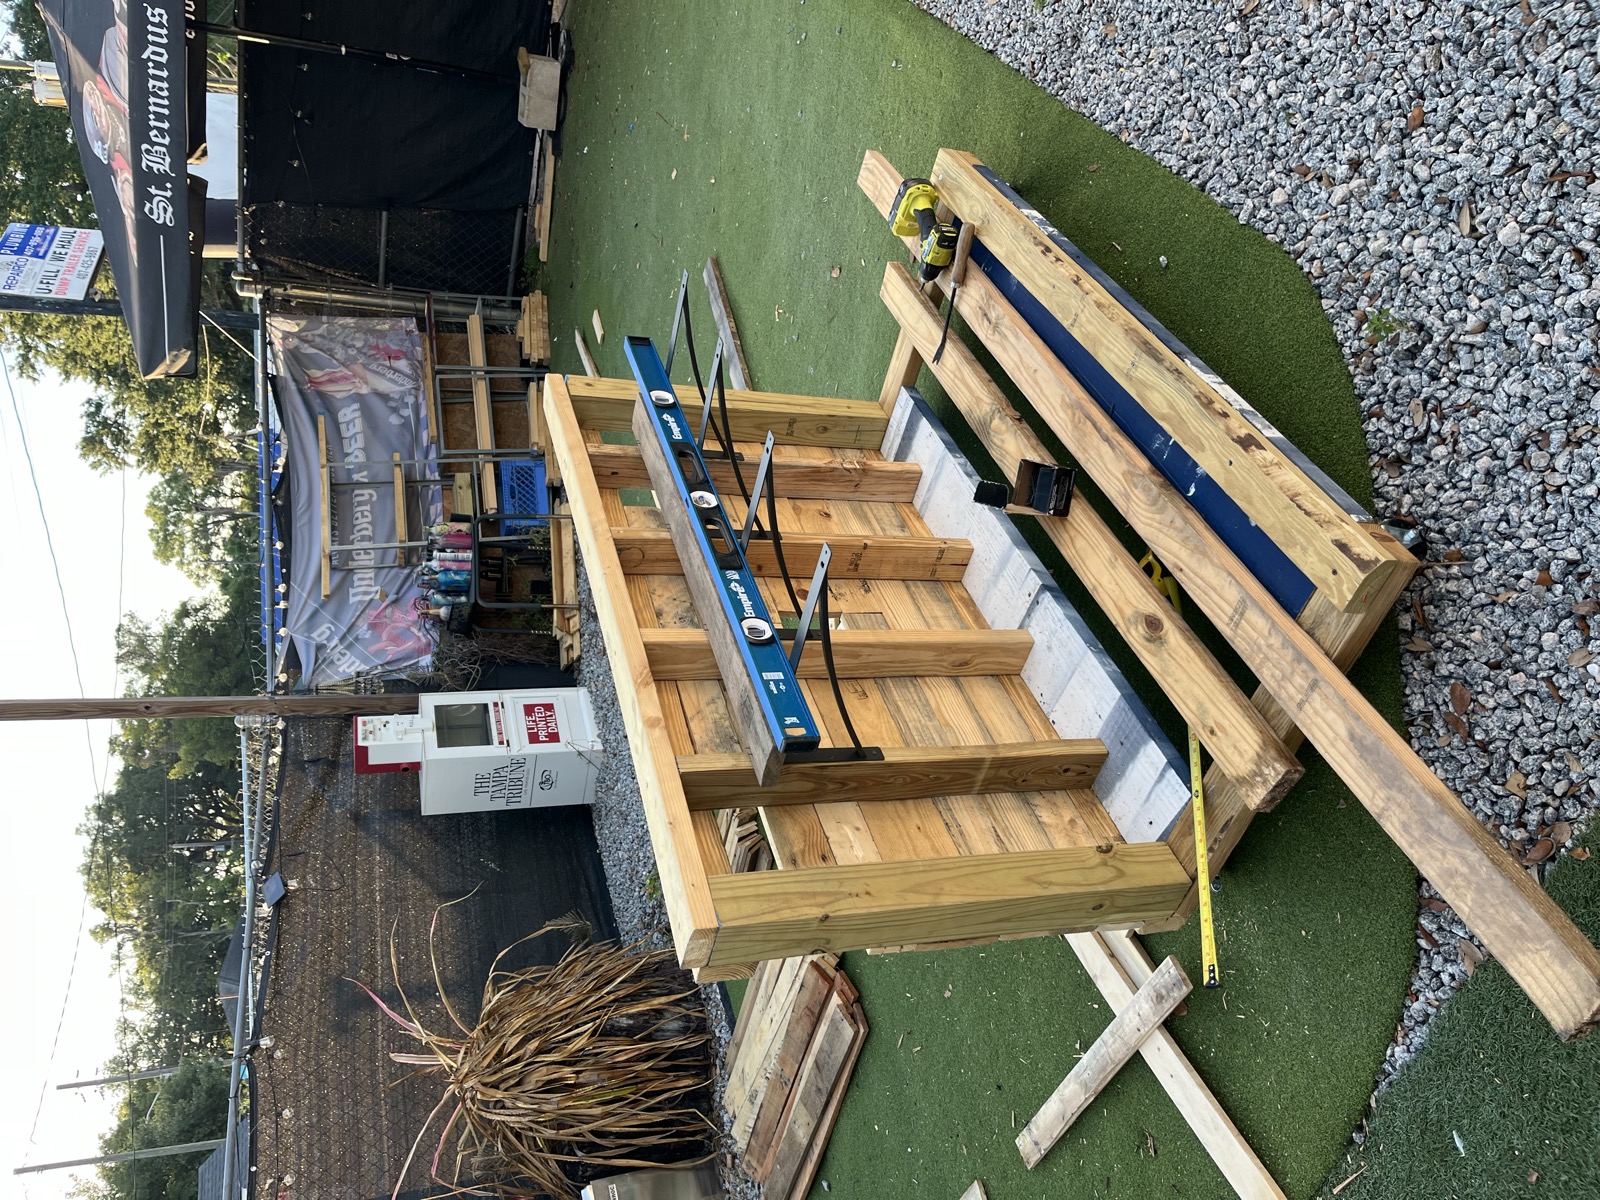
Takeaway: structure before surface. A solid frame first, then the parts people see and touch.
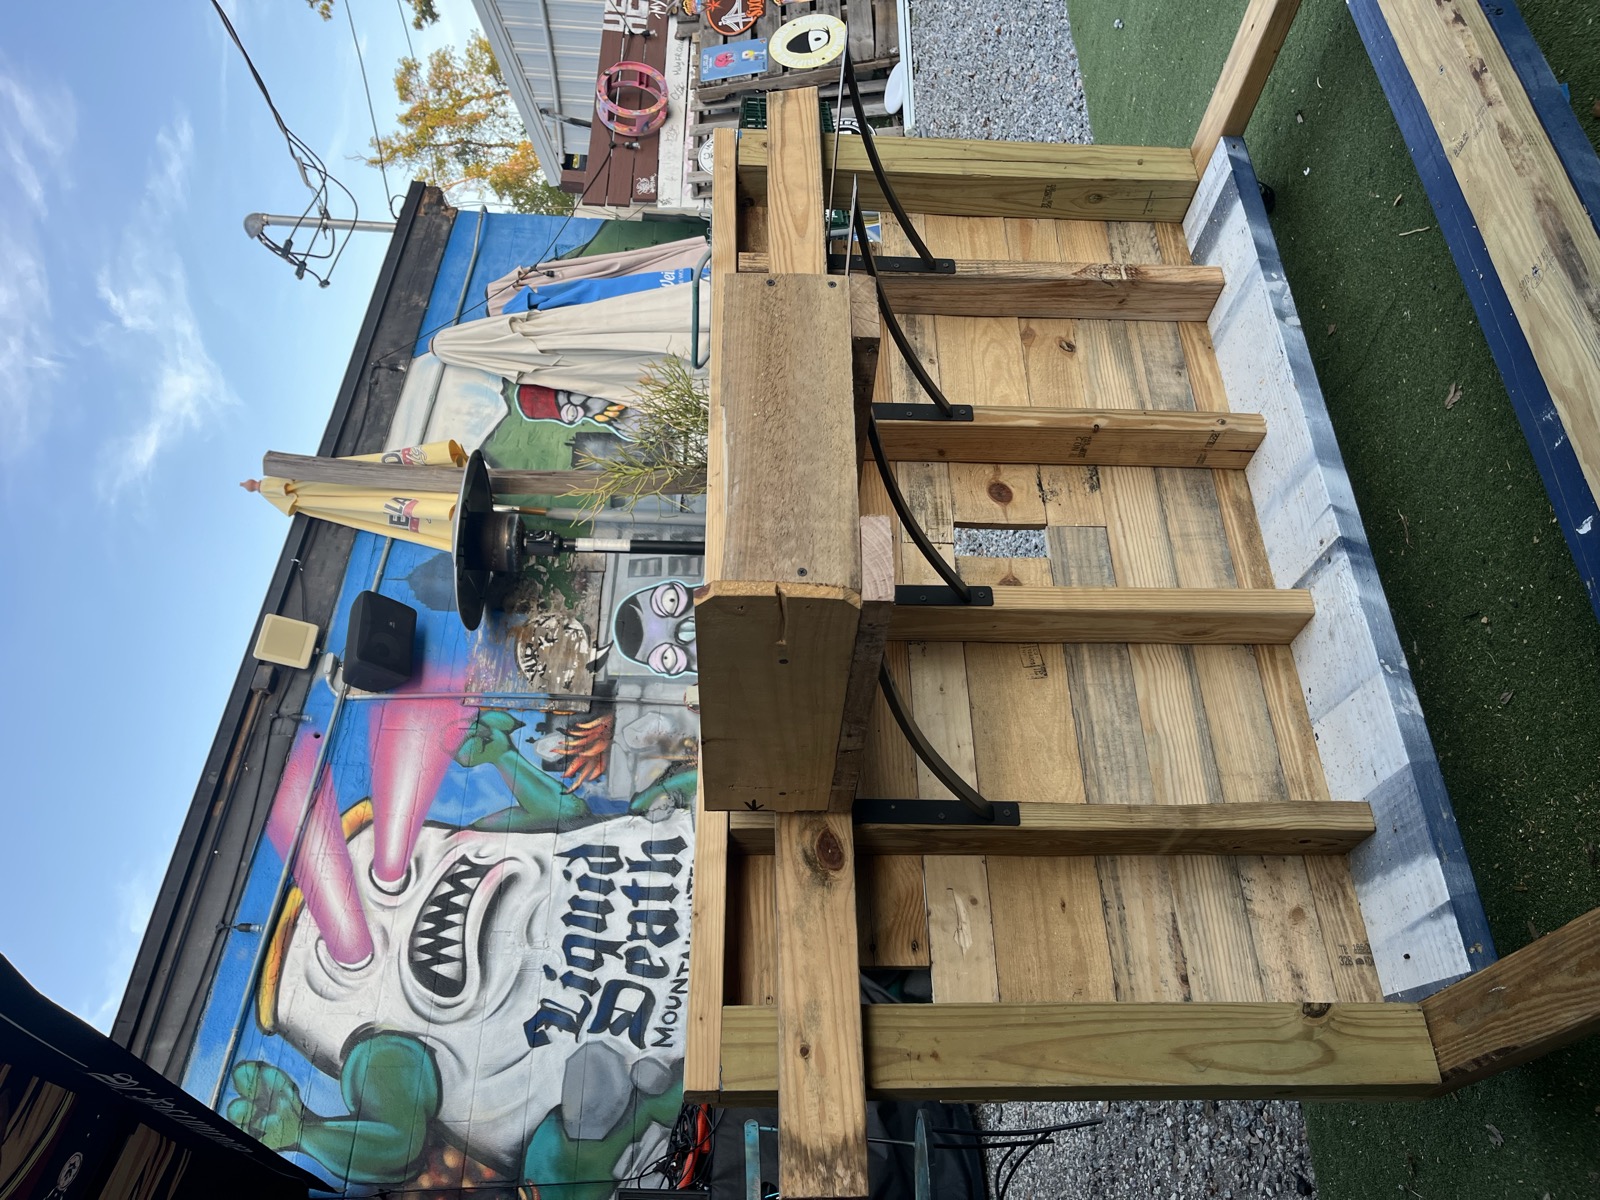
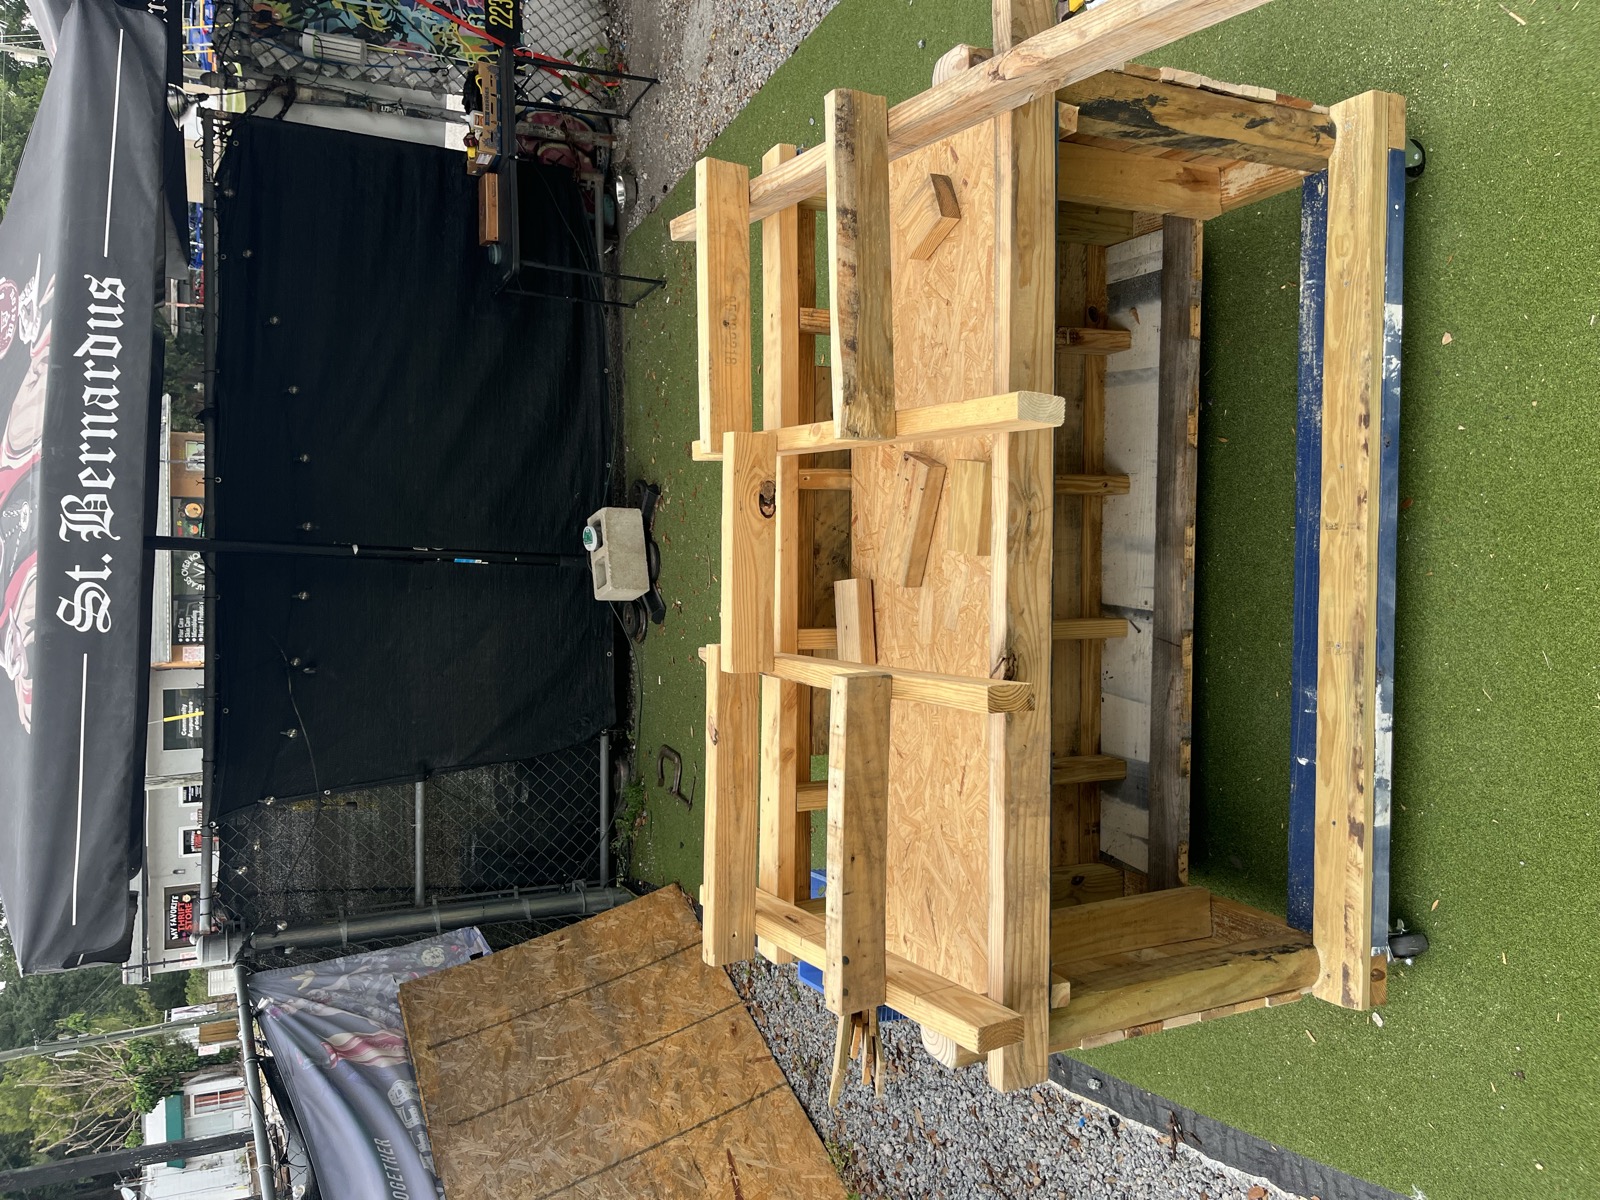
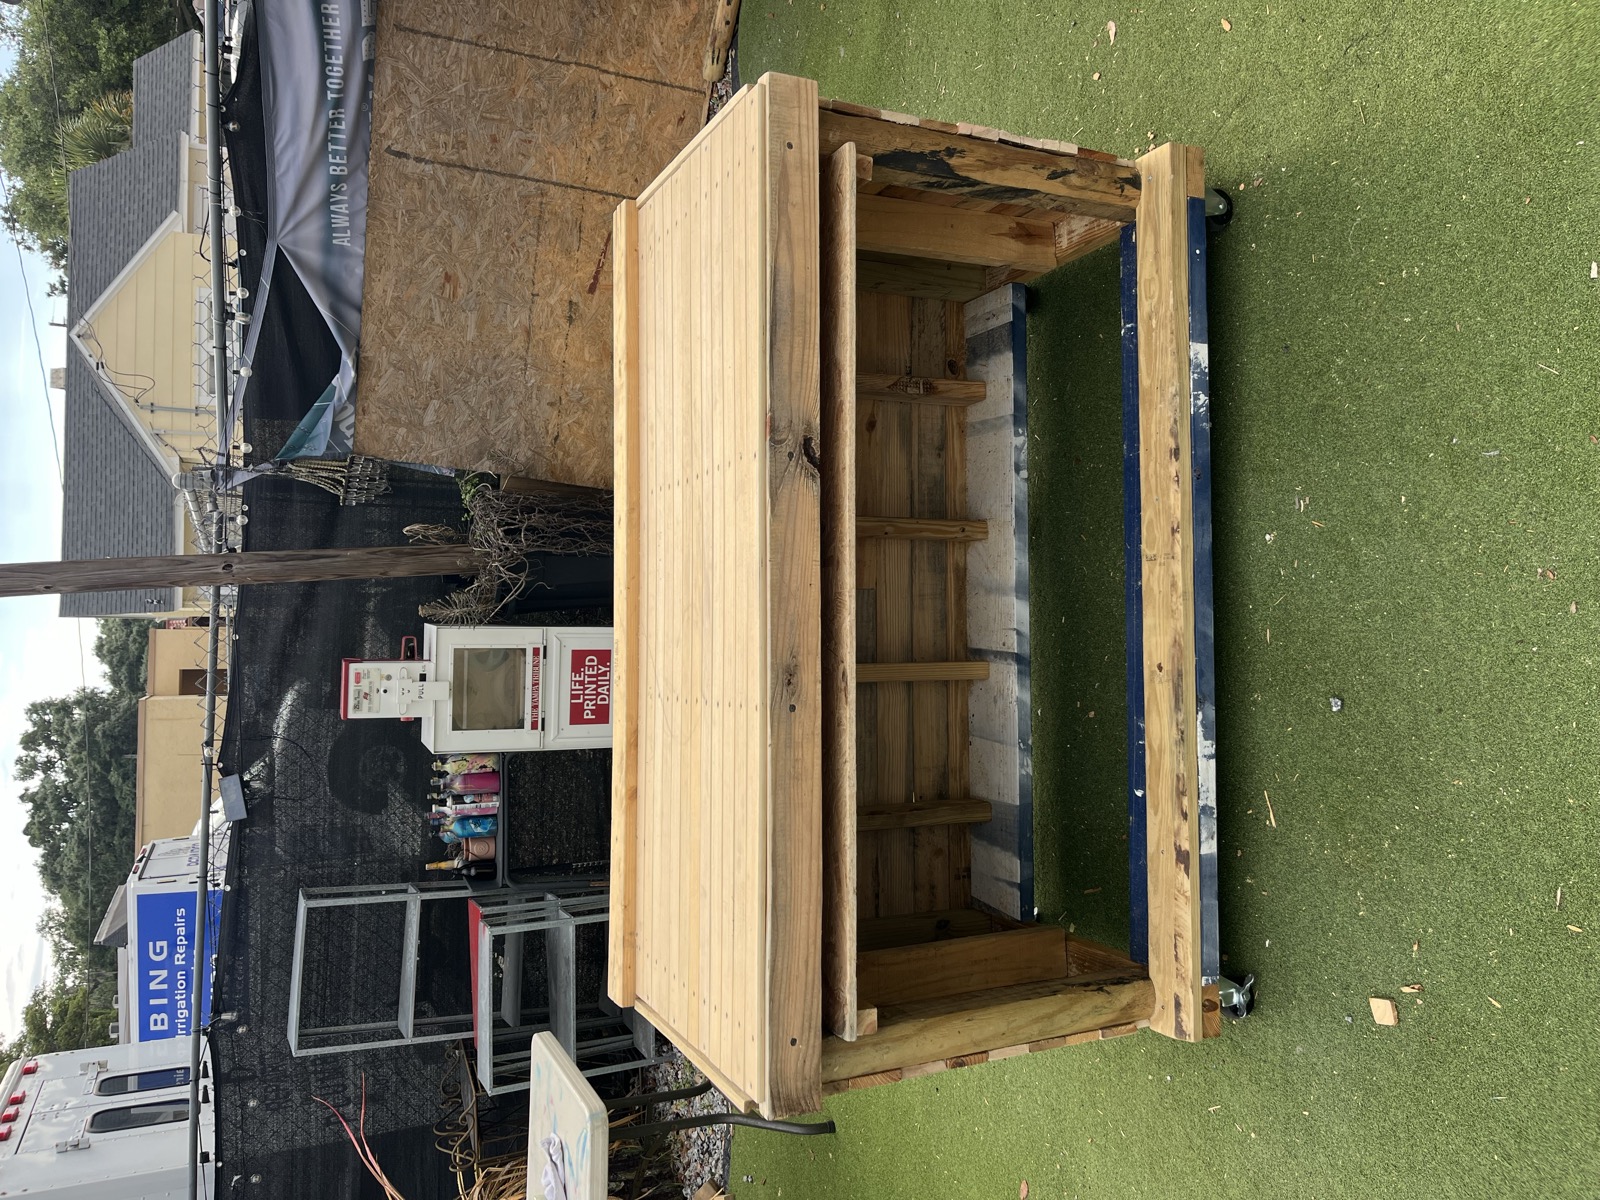
Step 7 (continued) · Joinery & bracing
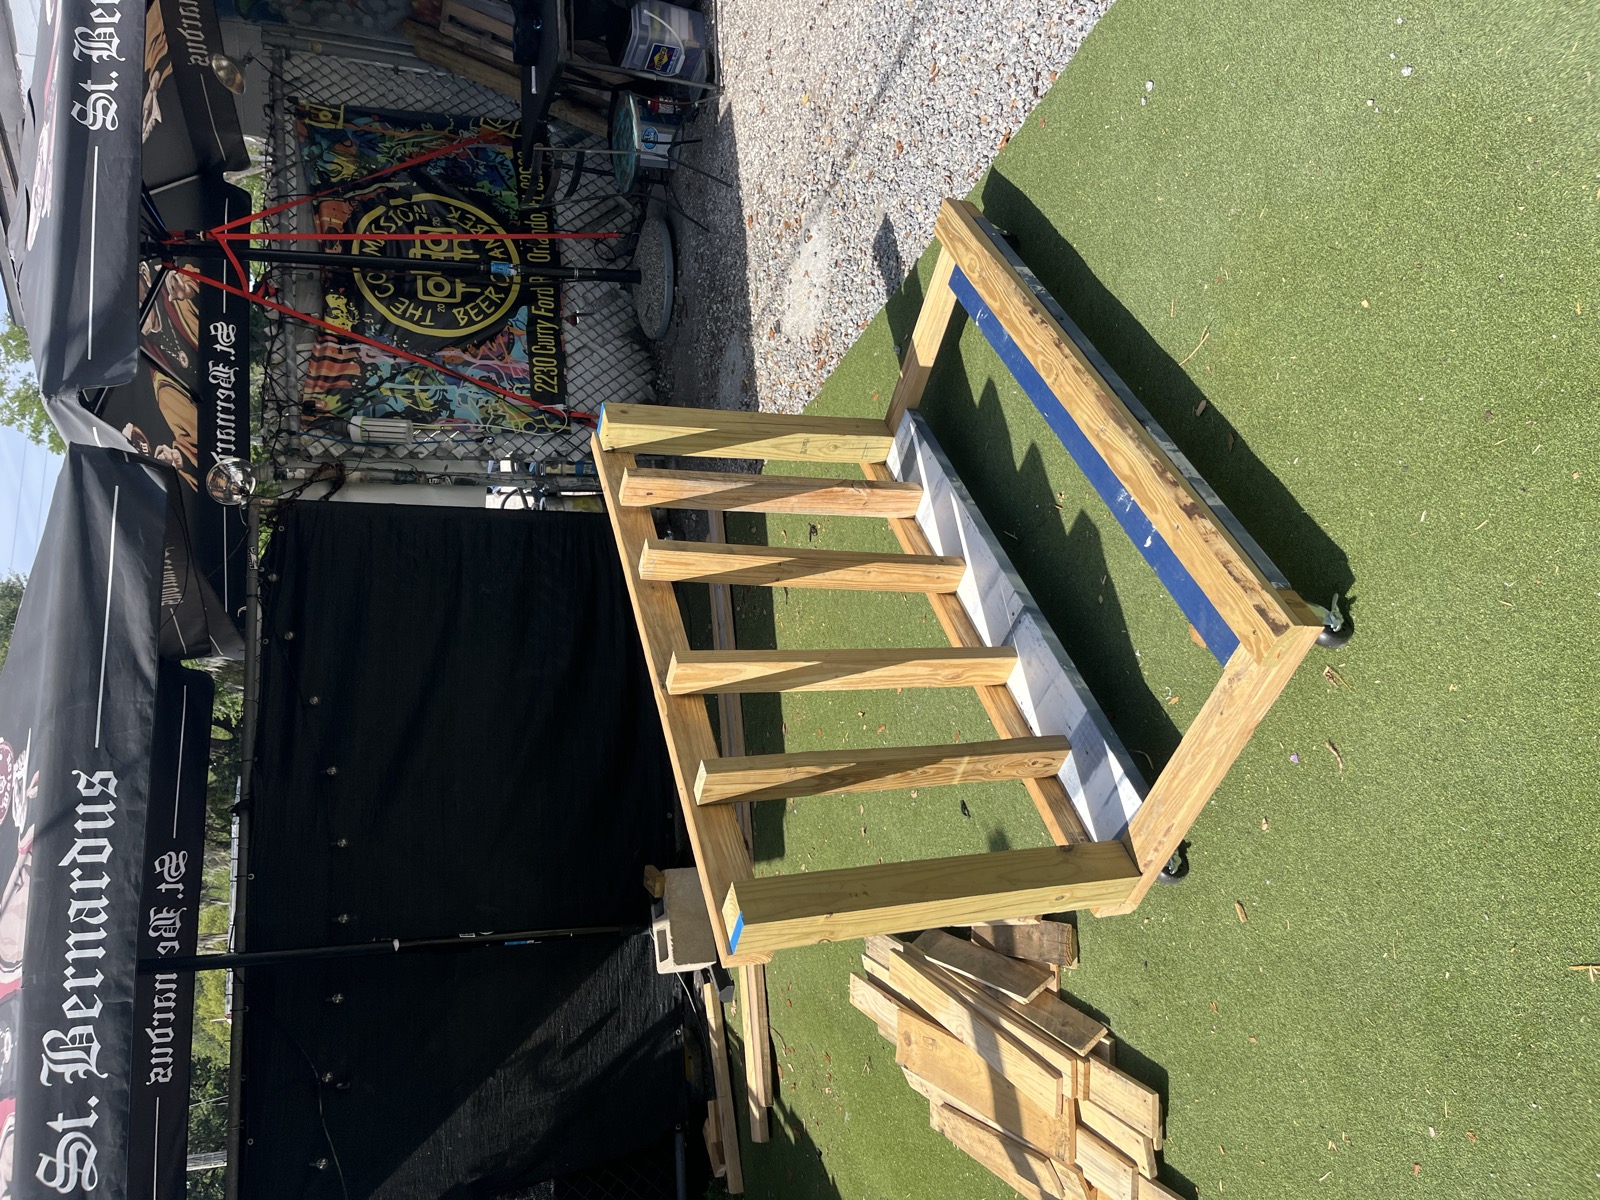
7
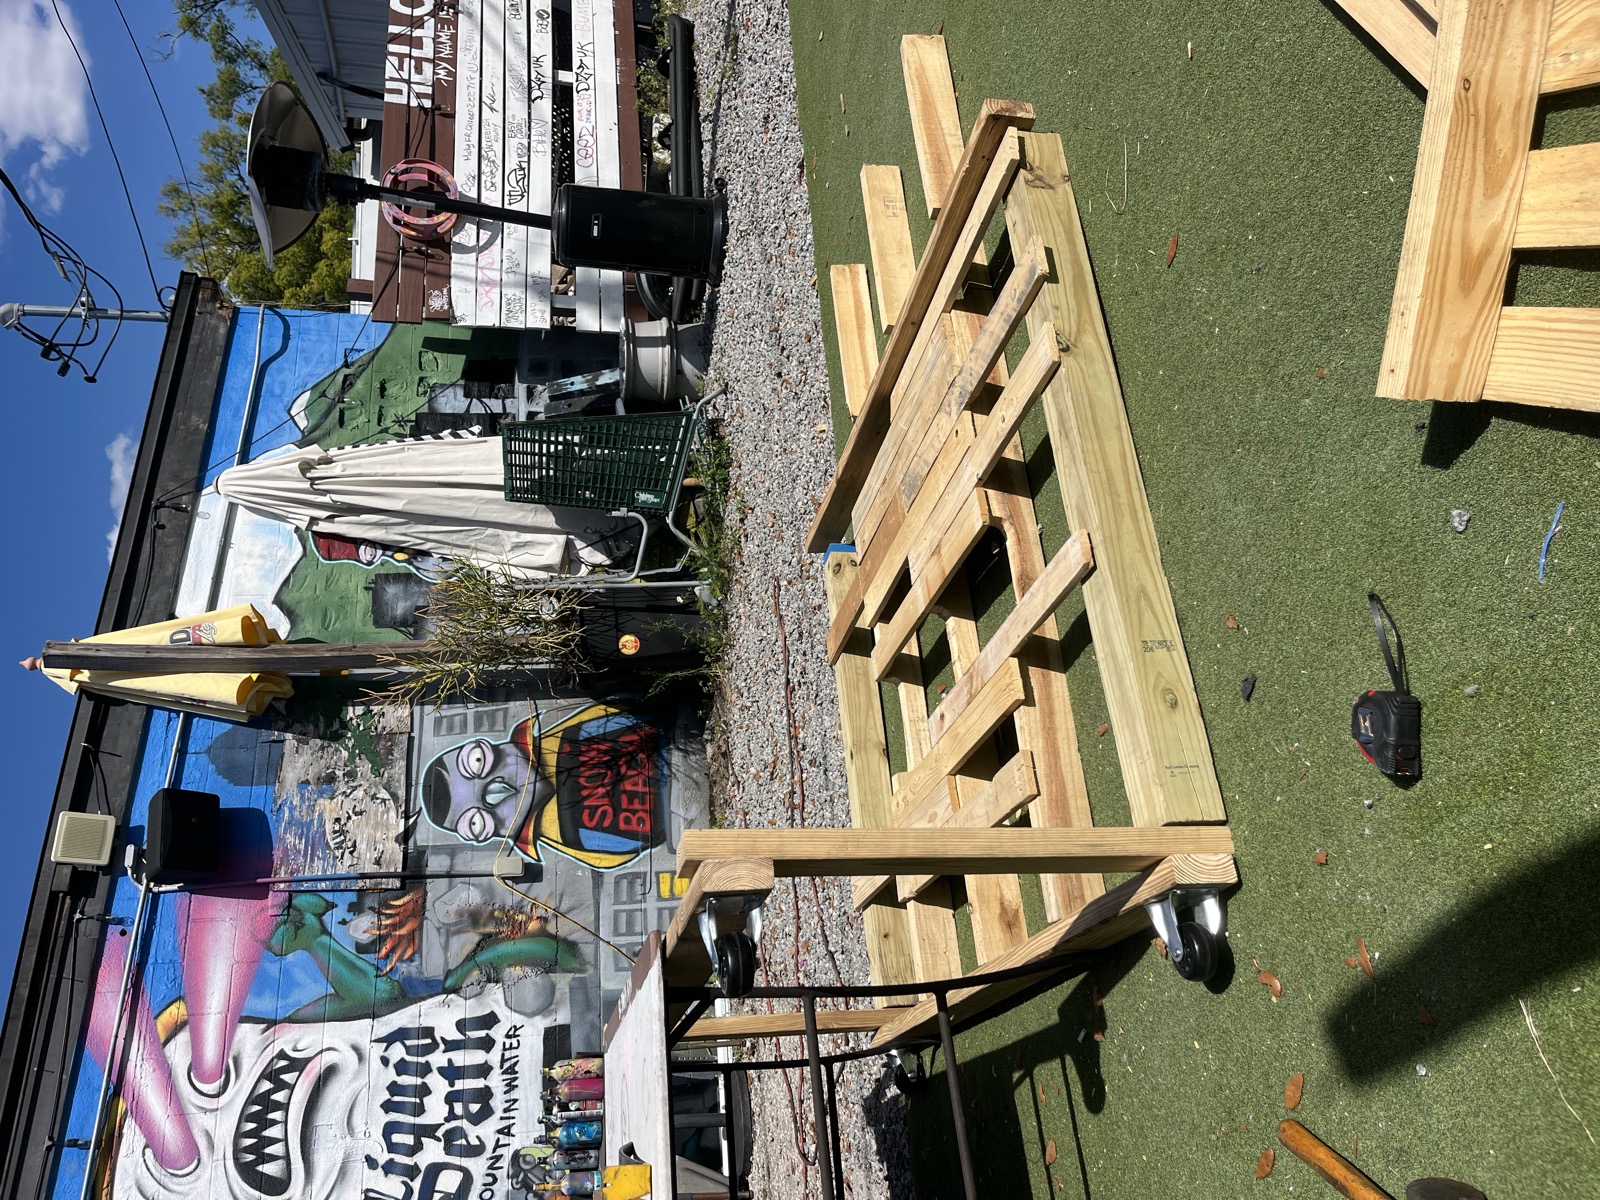
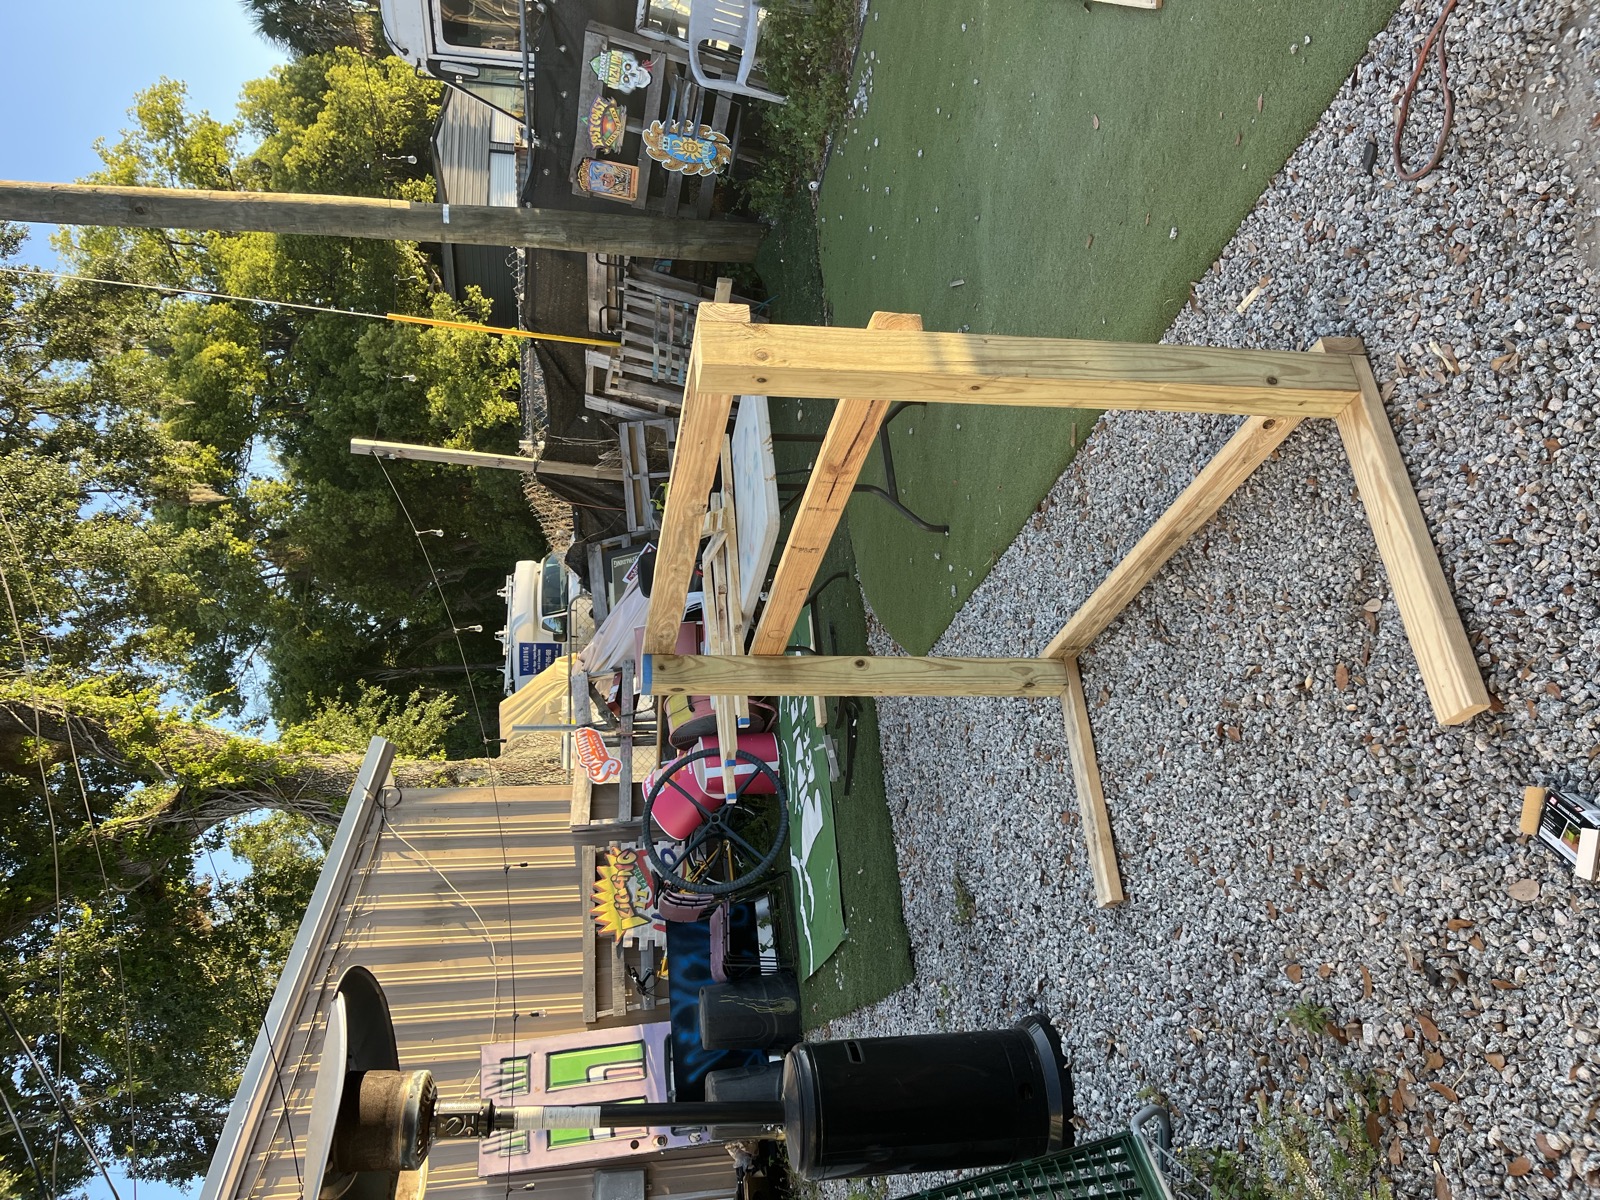
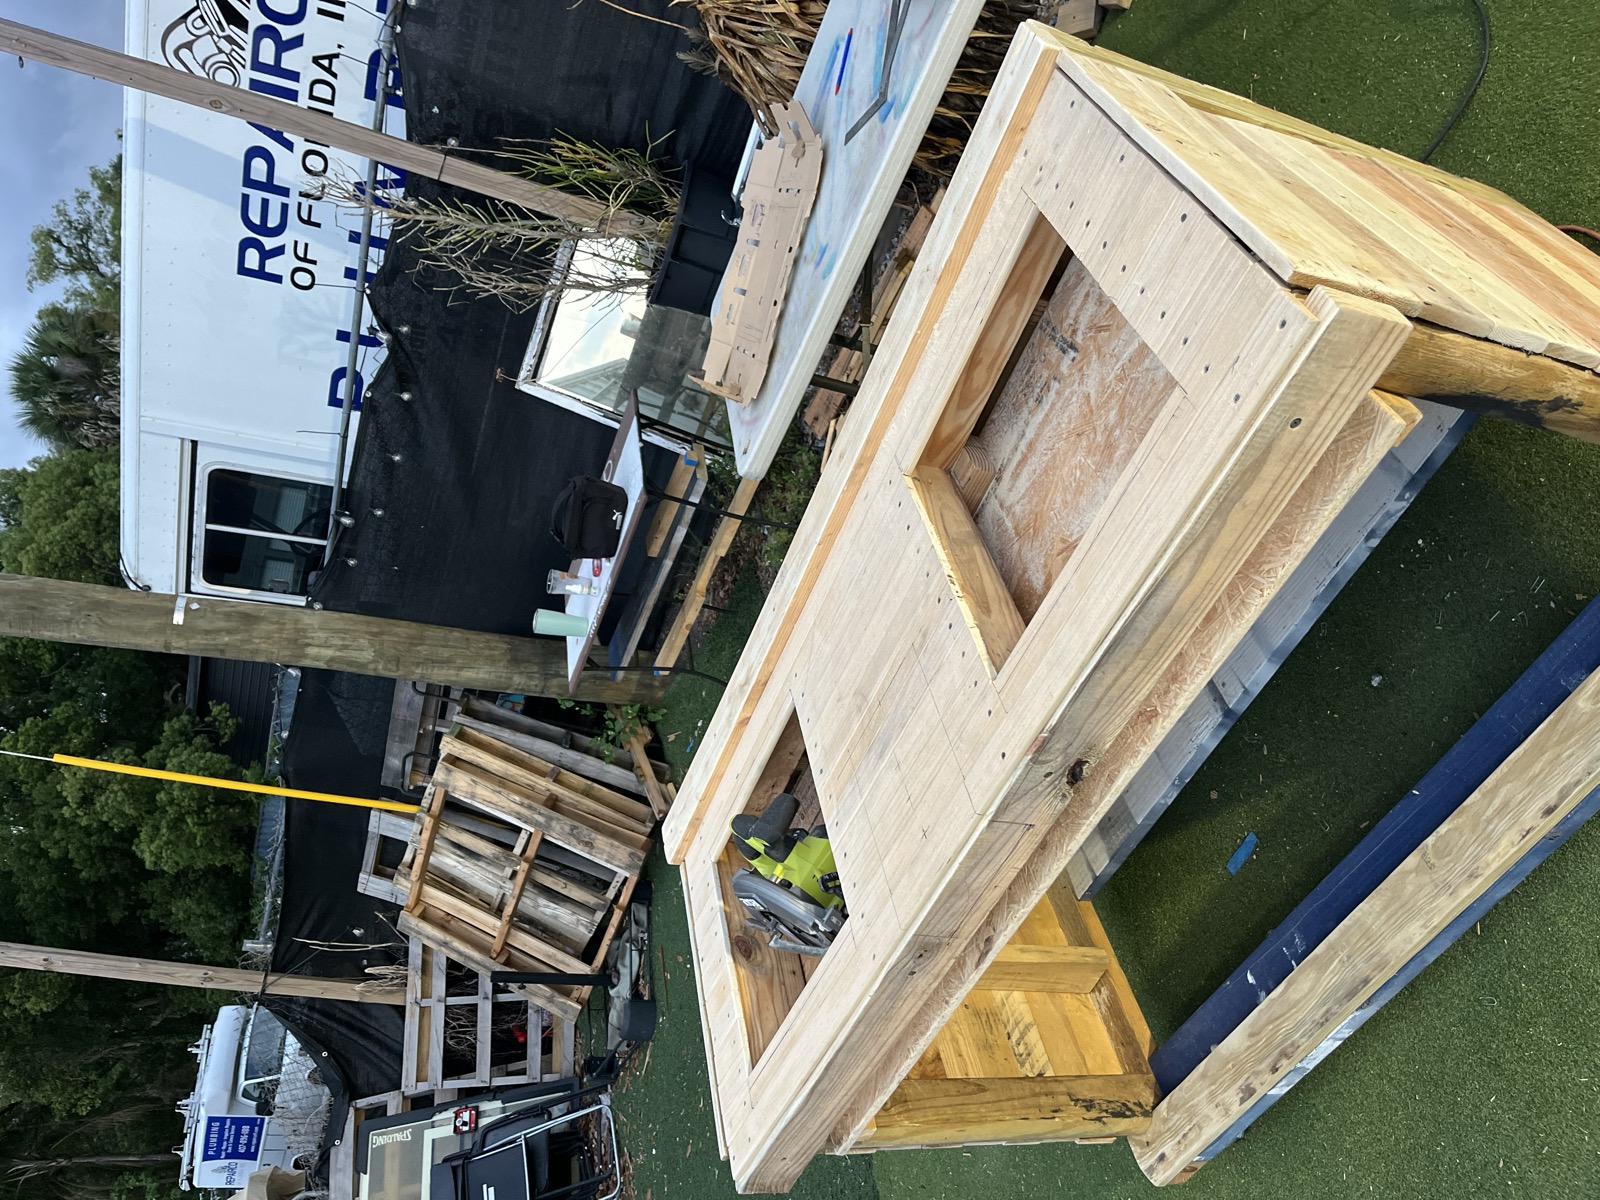
The biggest push of the build — internal supports, cross-bracing, the carpentry that makes a table rigid instead of wobbly.
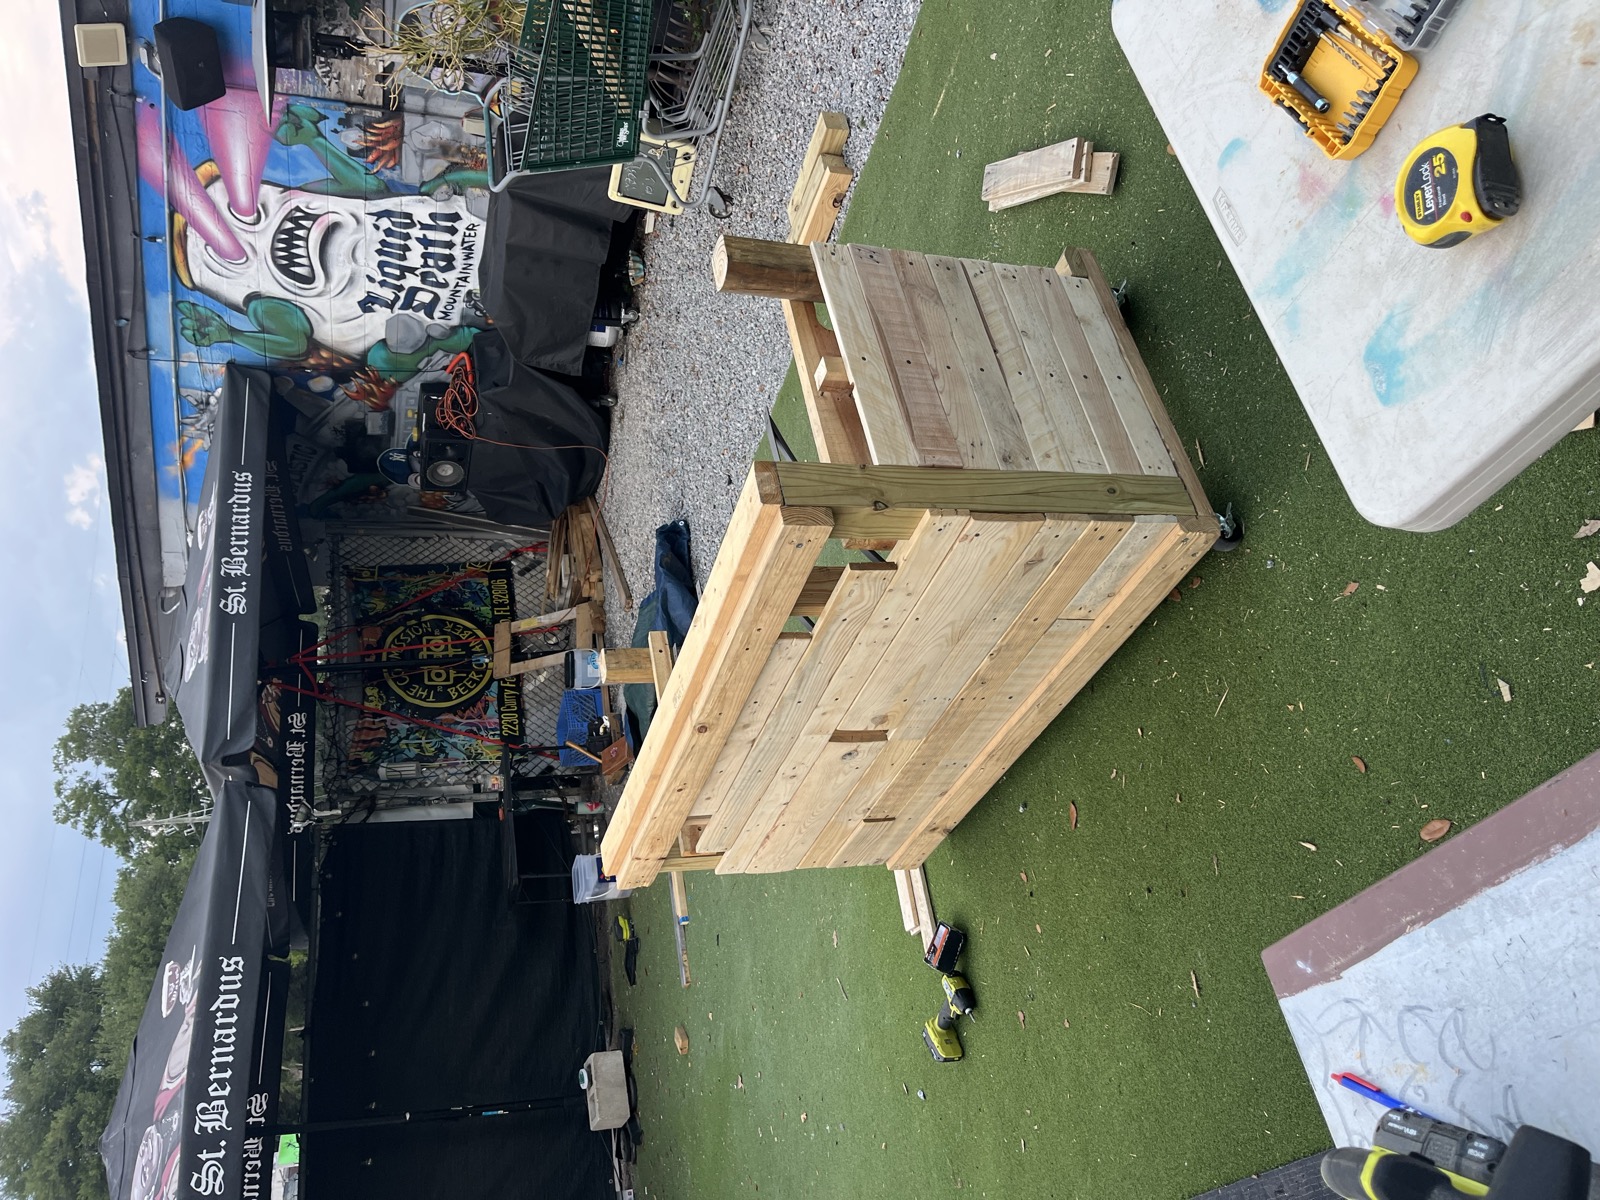
Takeaway: rigidity comes from bracing. Anywhere a piece could rack or wobble, a brace goes in.
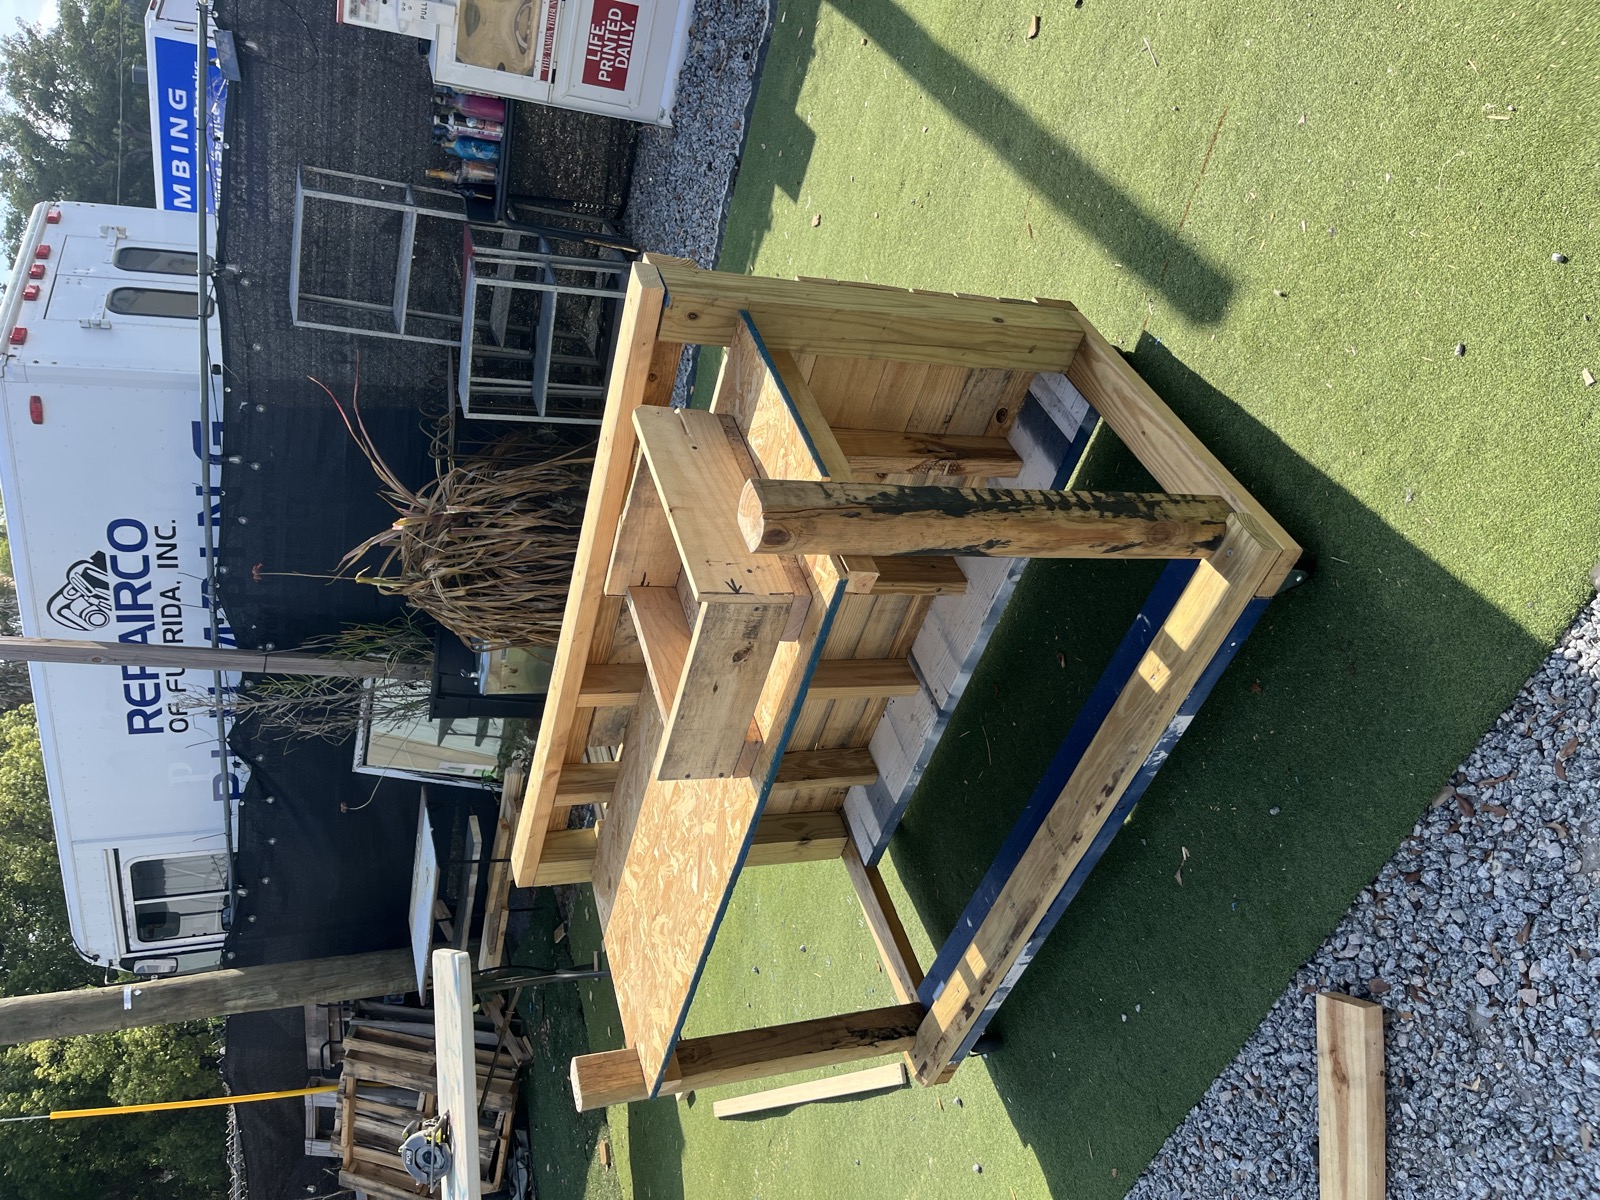
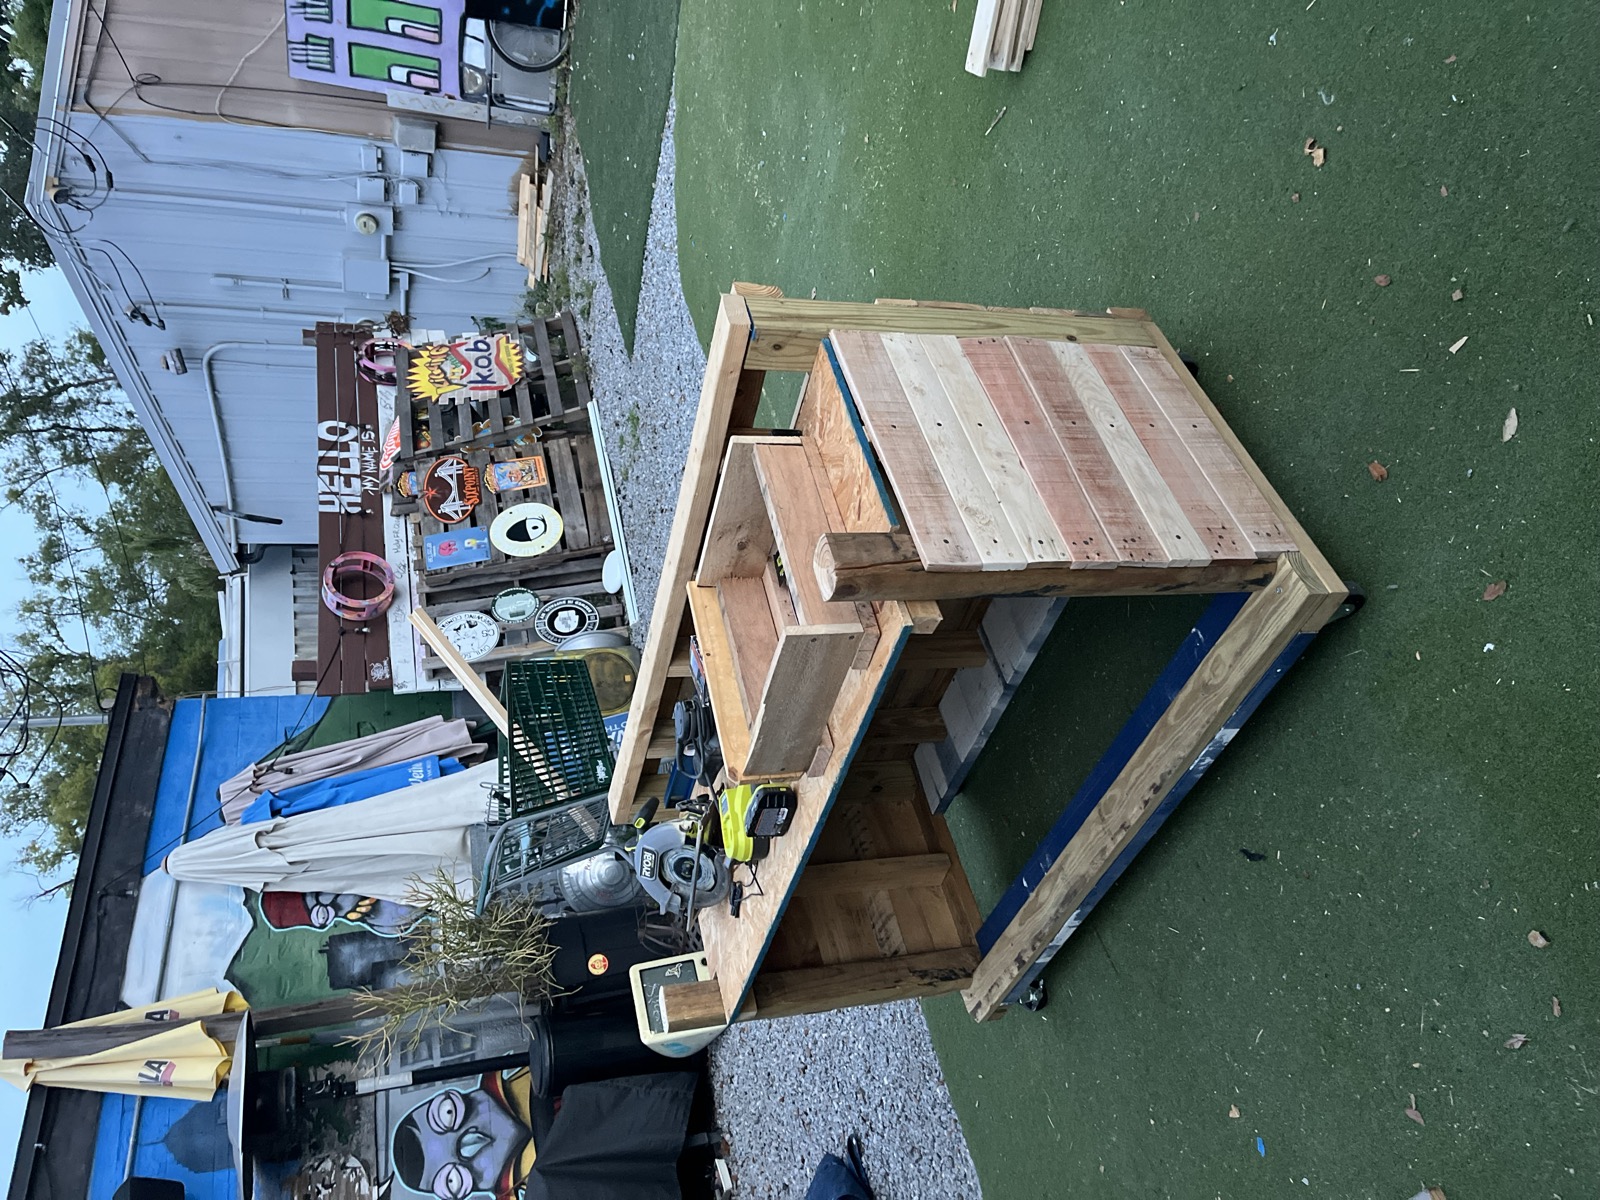
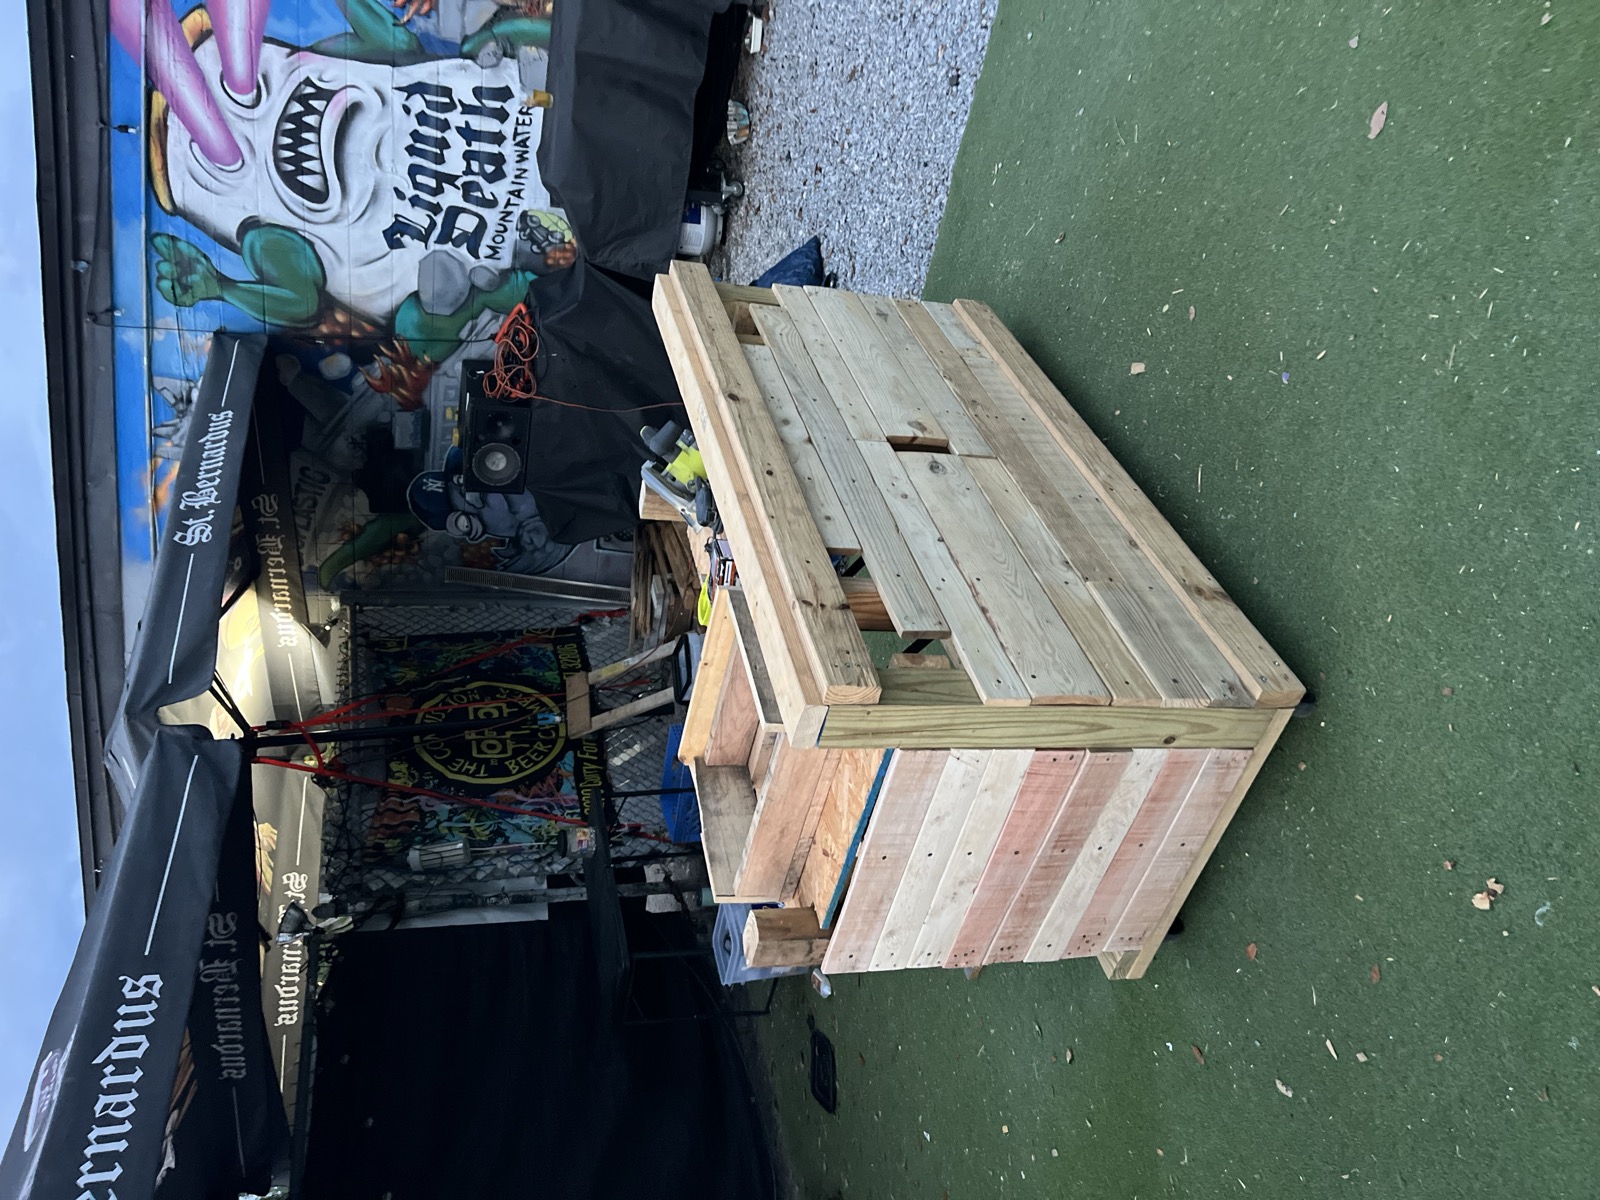
Steps 5 + 8 · Design meets reality — the mixer cutout
58
The DJ table has one feature an ordinary table doesn't: a recessed cutout sized to hold a DJ mixer. That cutout was laid out directly on the finished top — measured, marked in pencil, checked against the equipment's real dimensions.
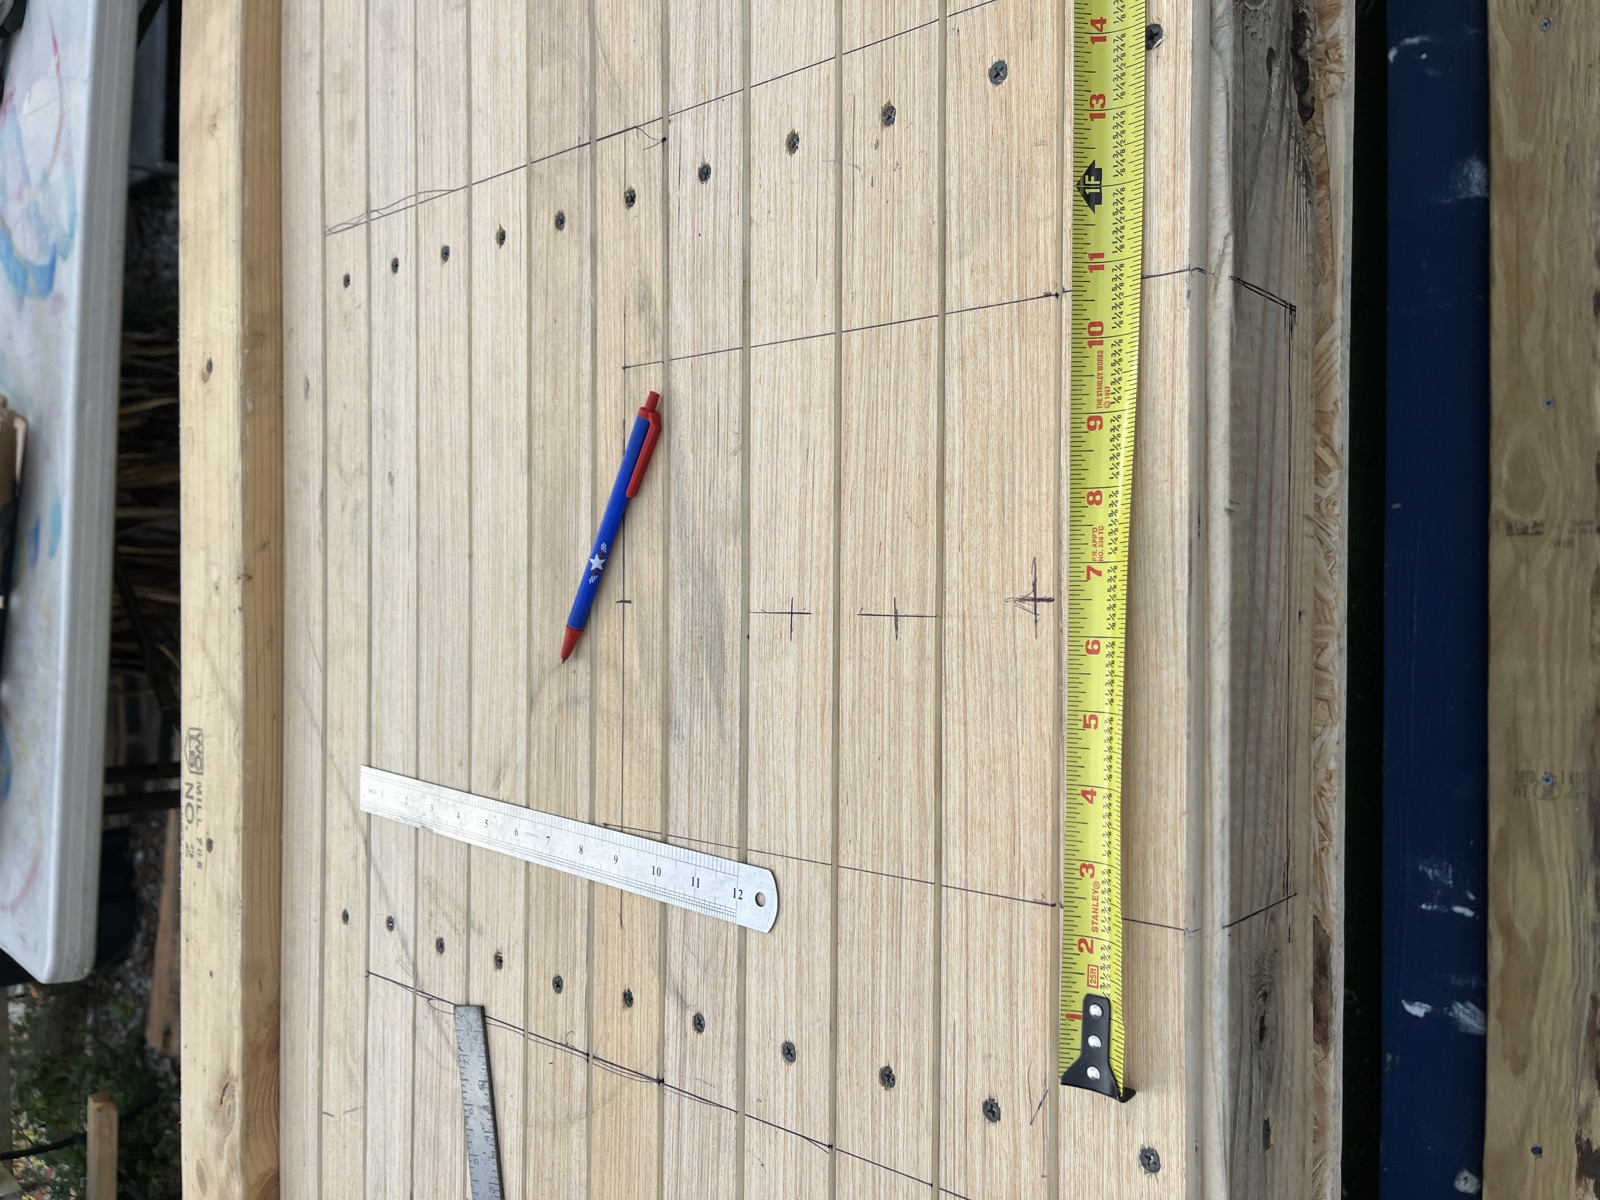
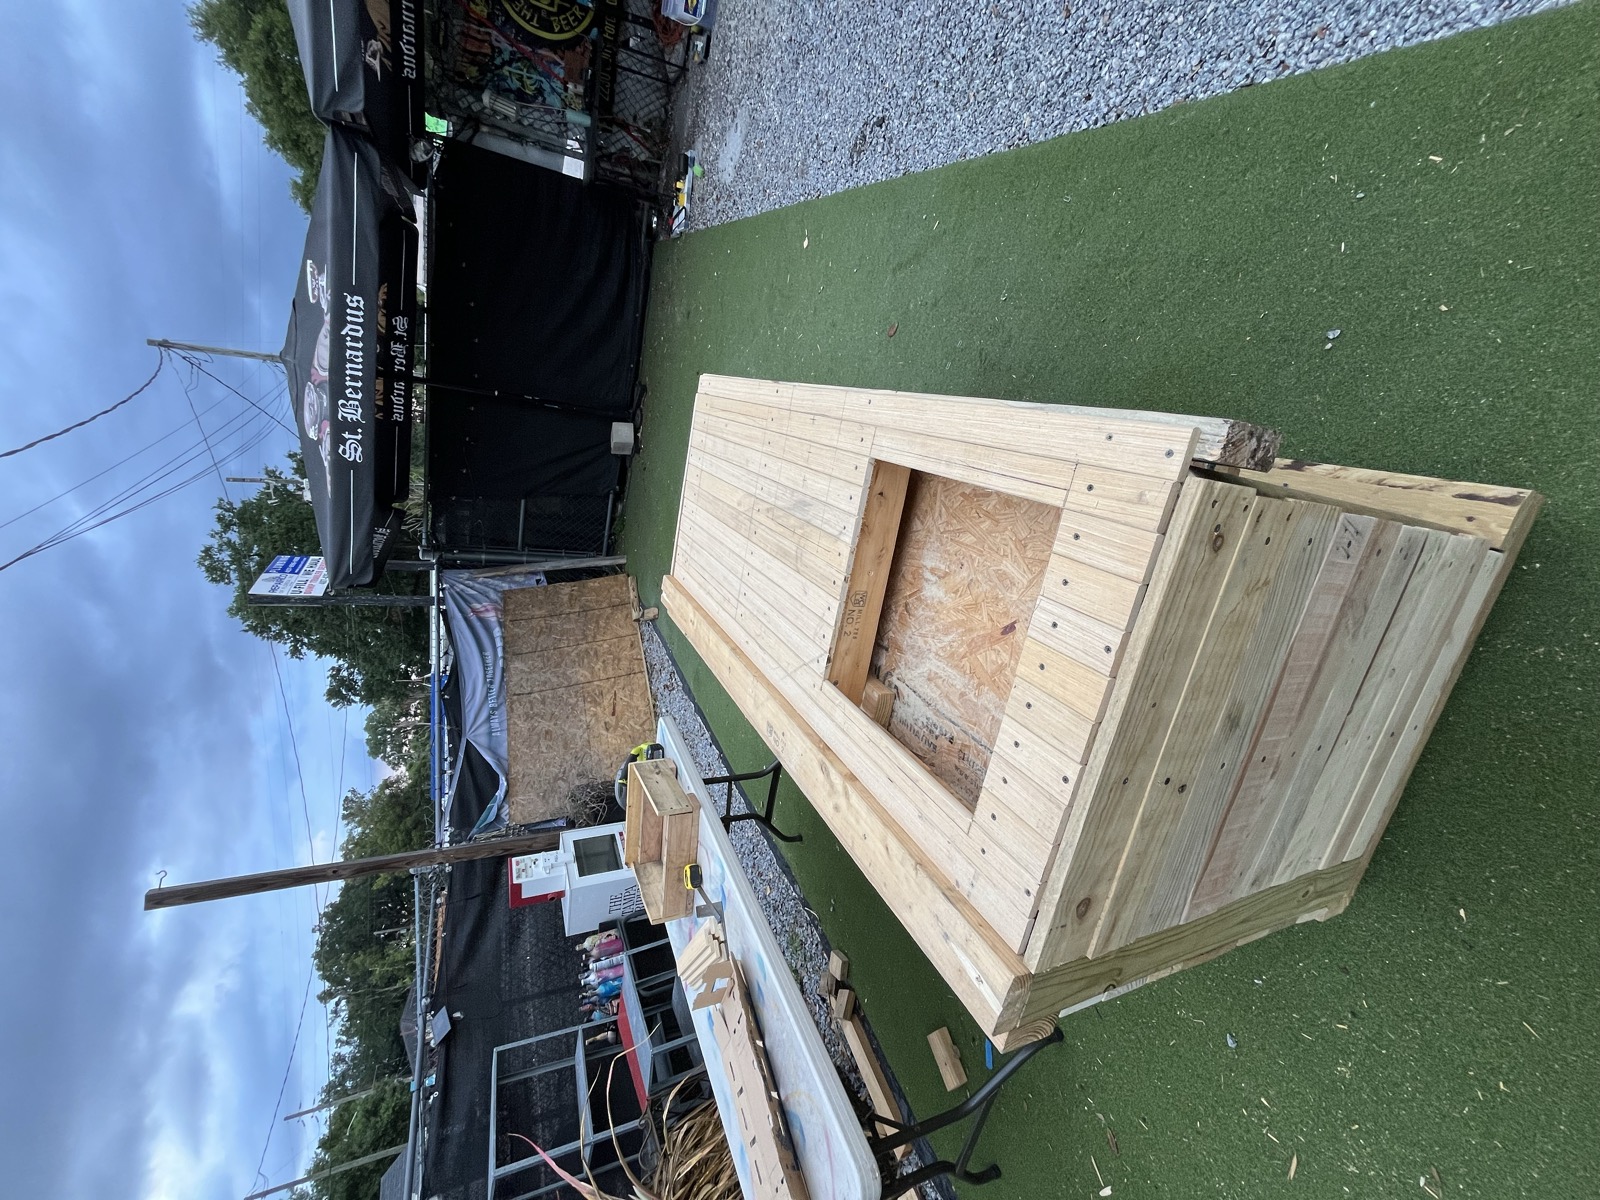
Takeaway: when a build has to fit a specific piece of equipment, measure the equipment, not a spec sheet — and lay the cut out on the actual surface before committing. A cut like this is irreversible. This is exactly why Step 5 (Design & Measure) says measure twice.
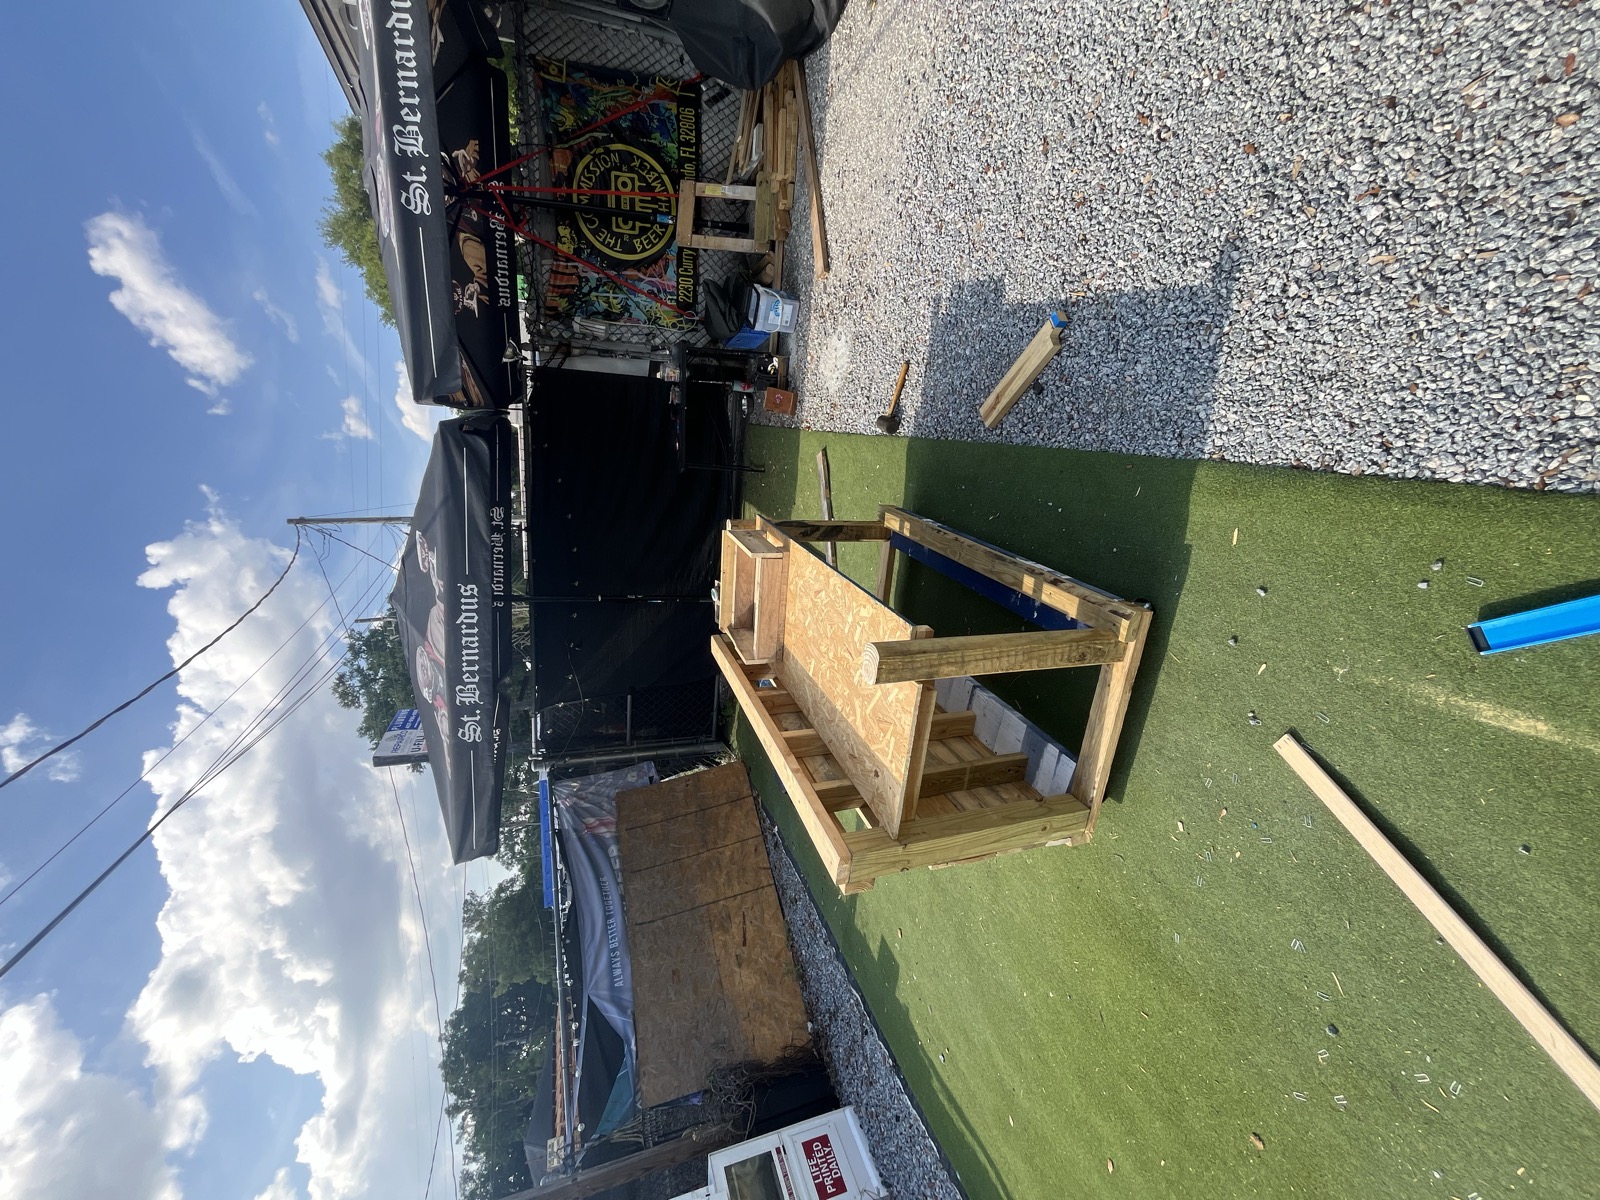
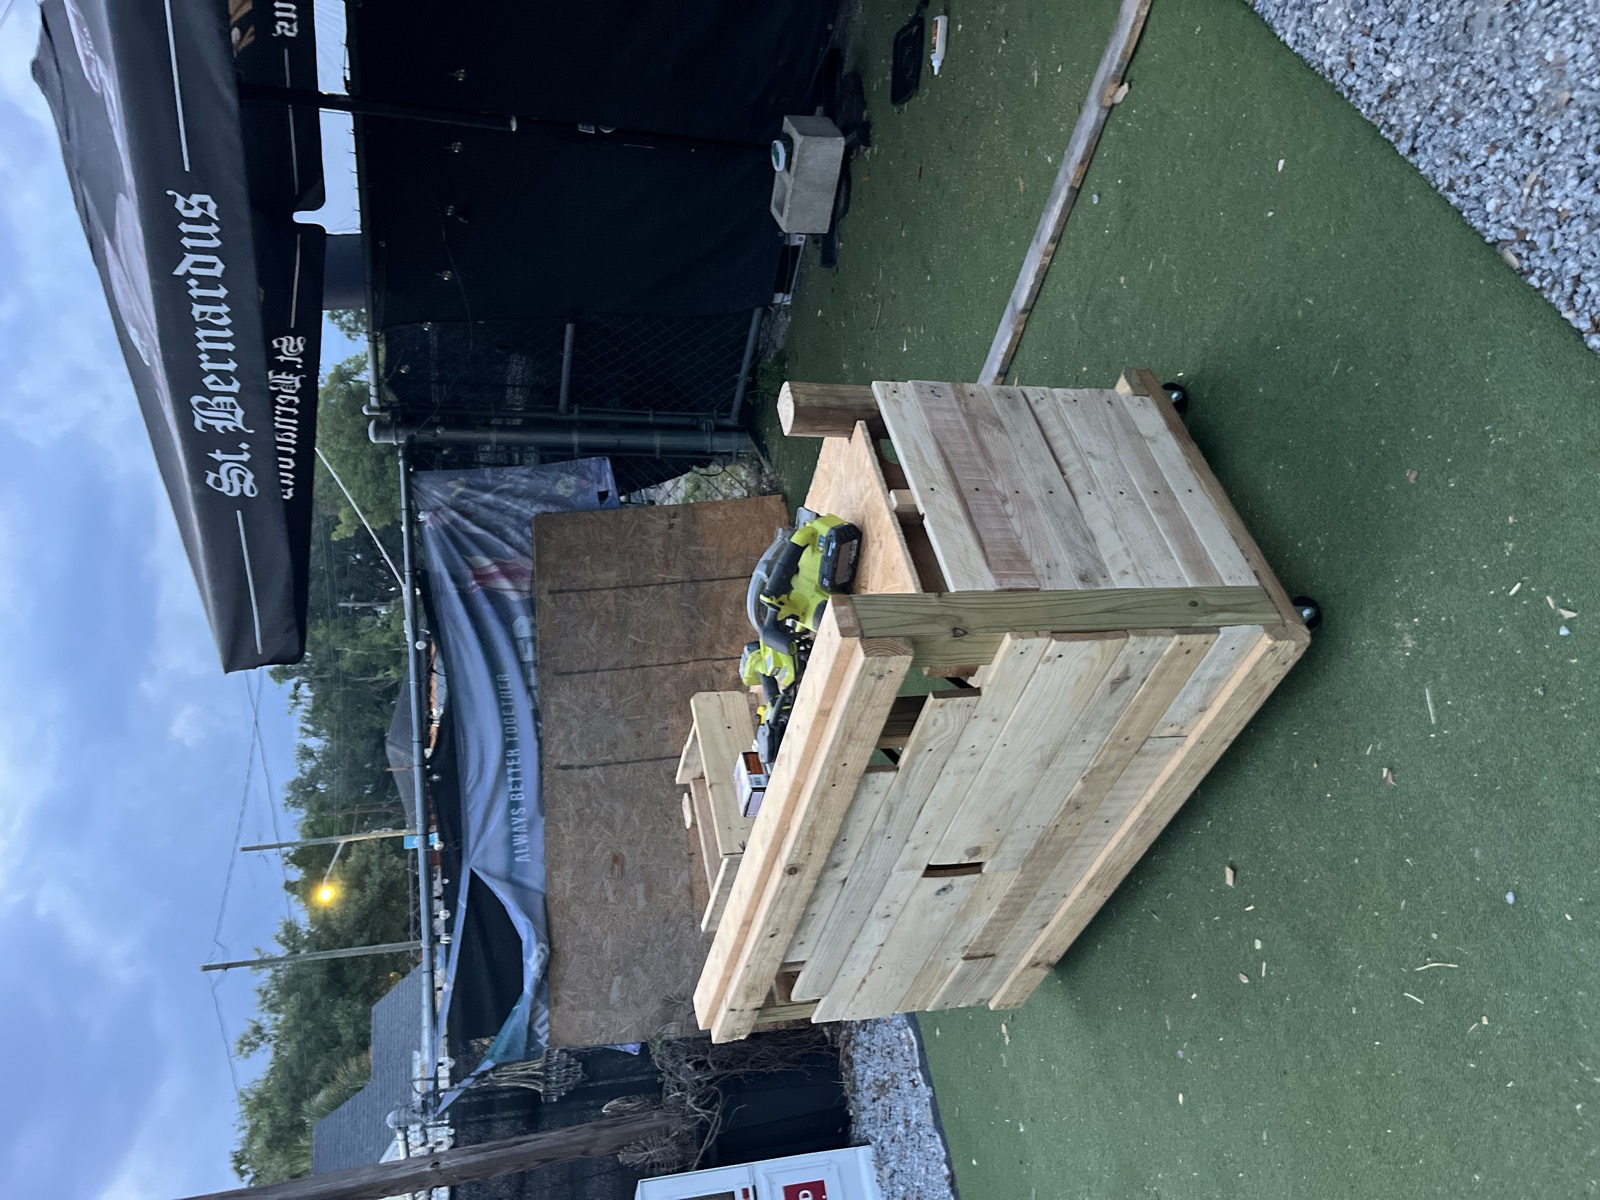
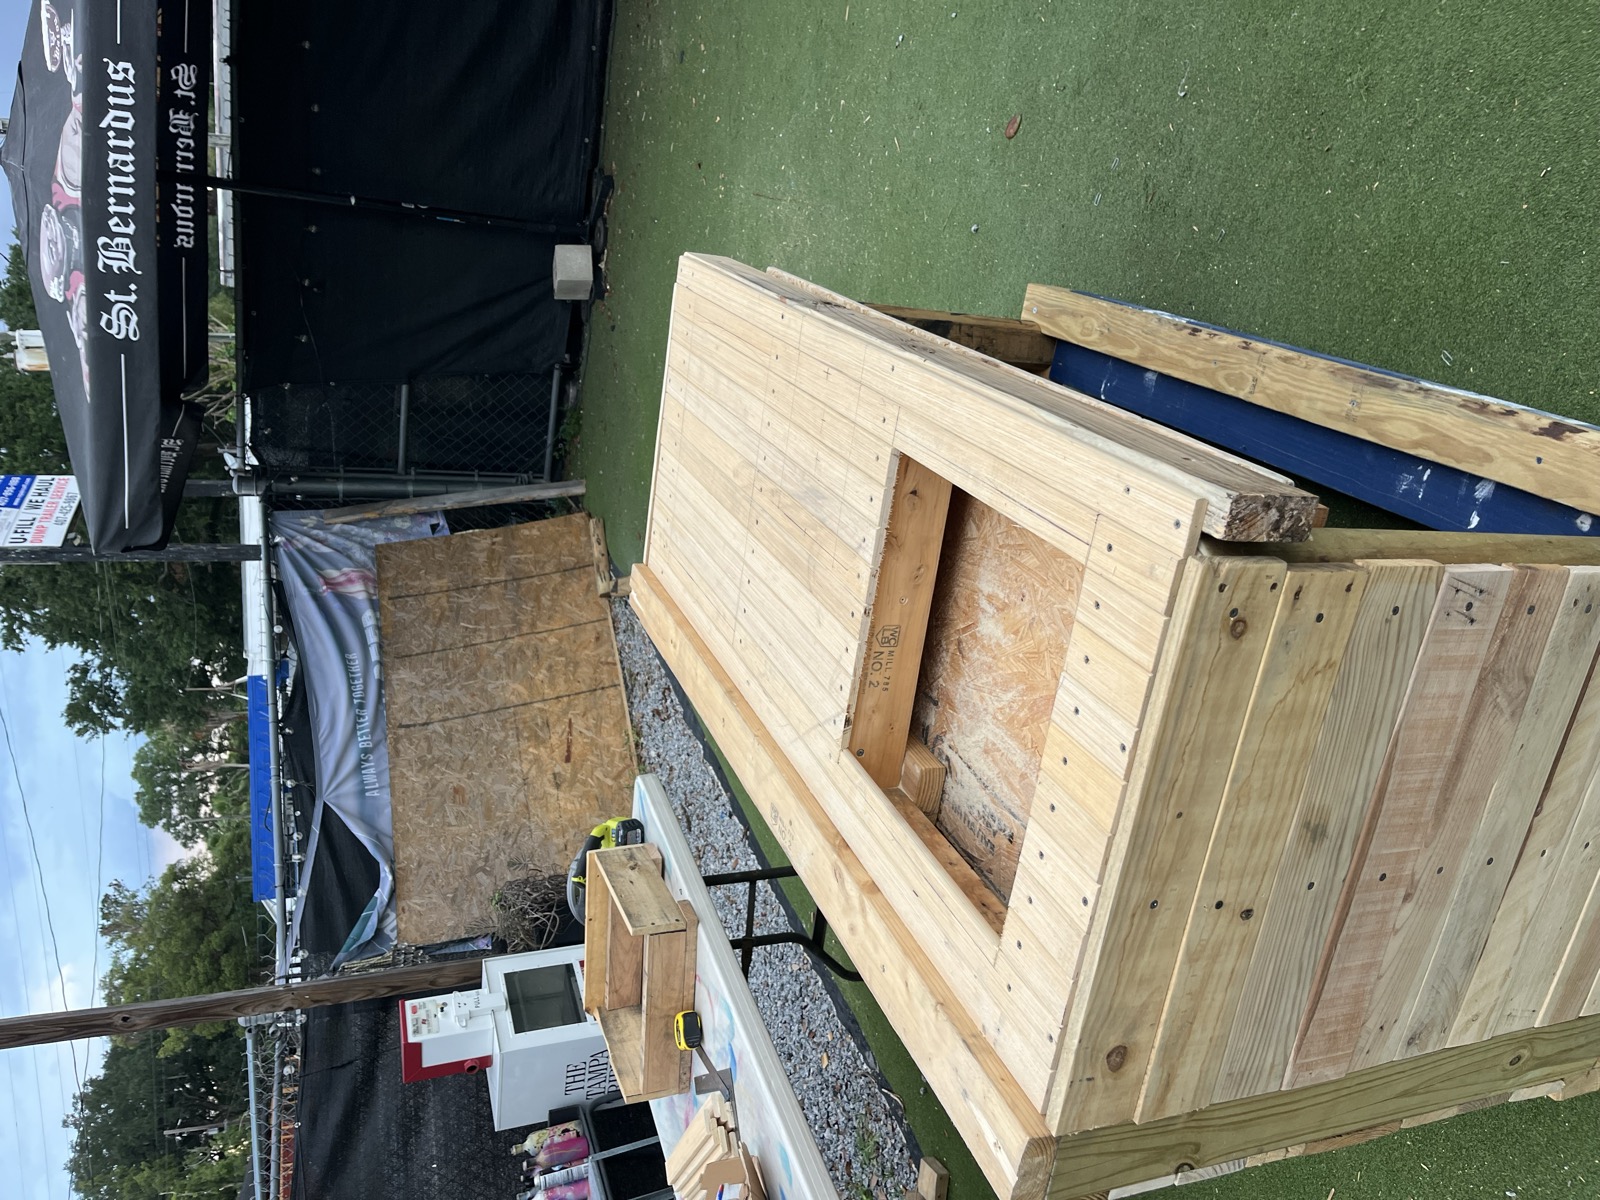
Step 8 · Near-final
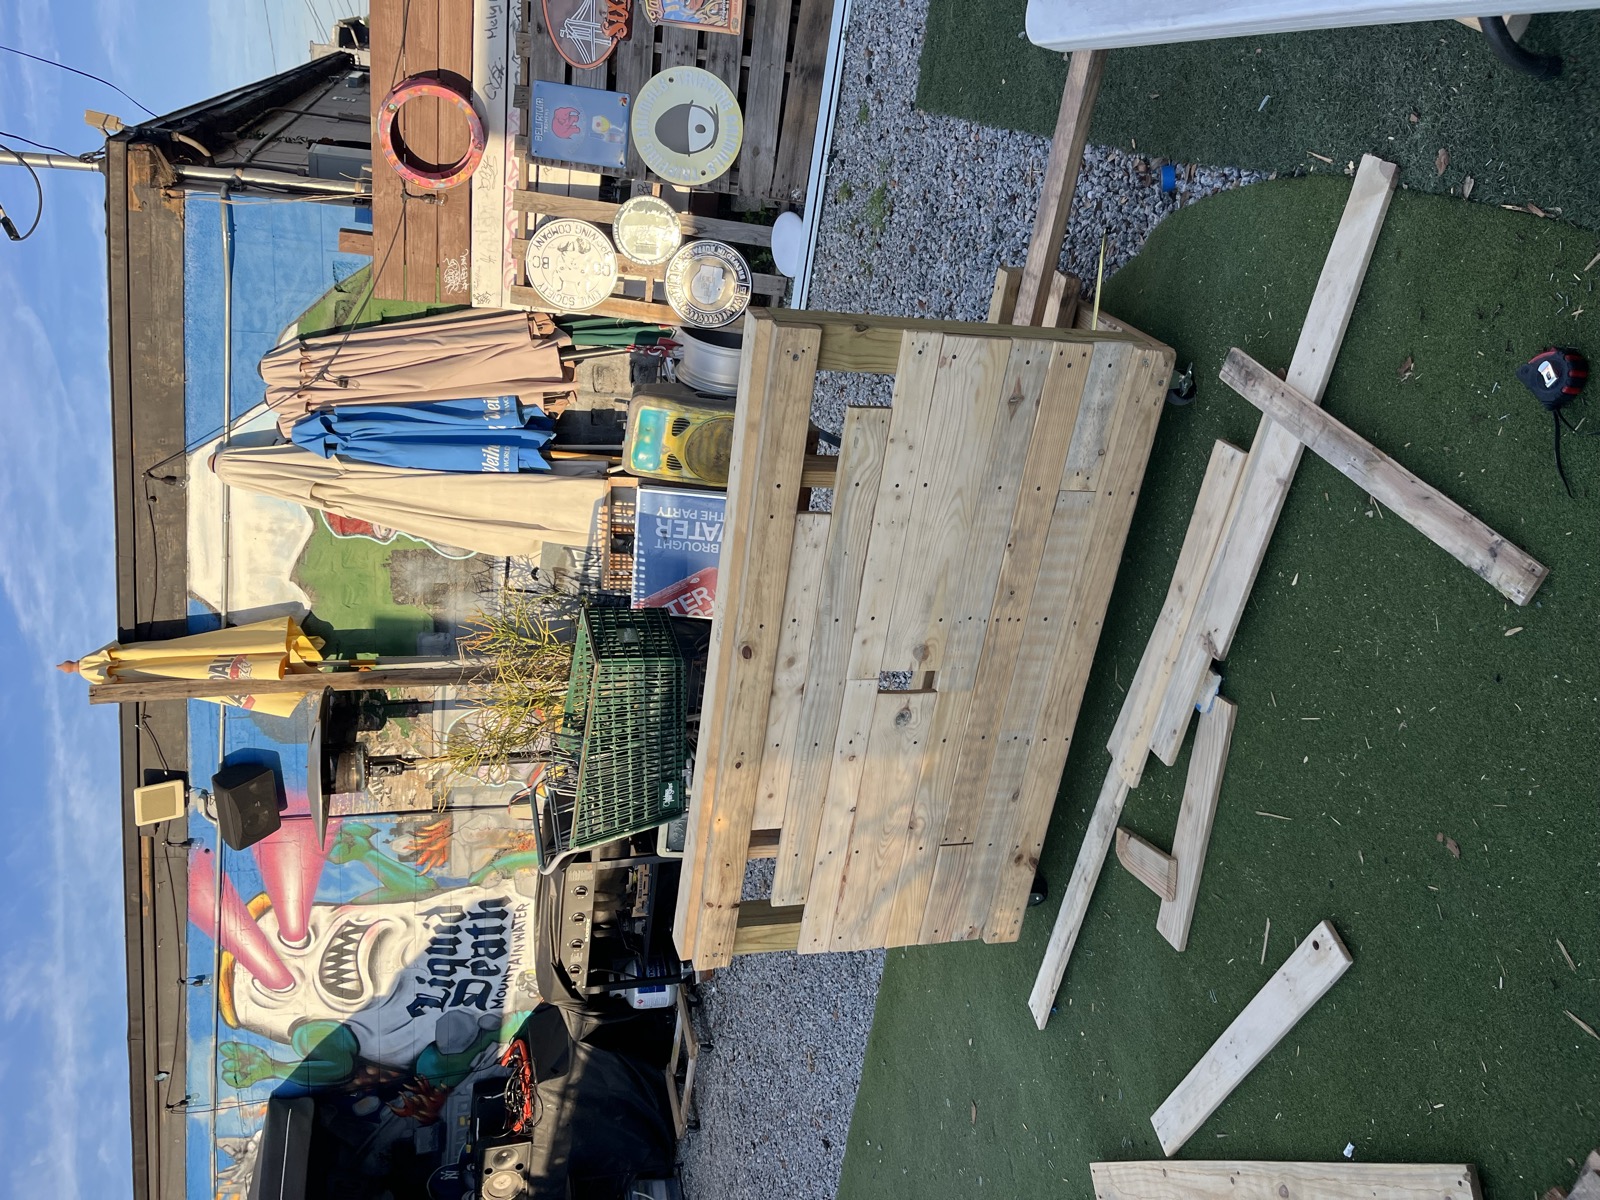
8
Table fully assembled, surfaces refined, cutout marked. What's left is the final cut and the seal.
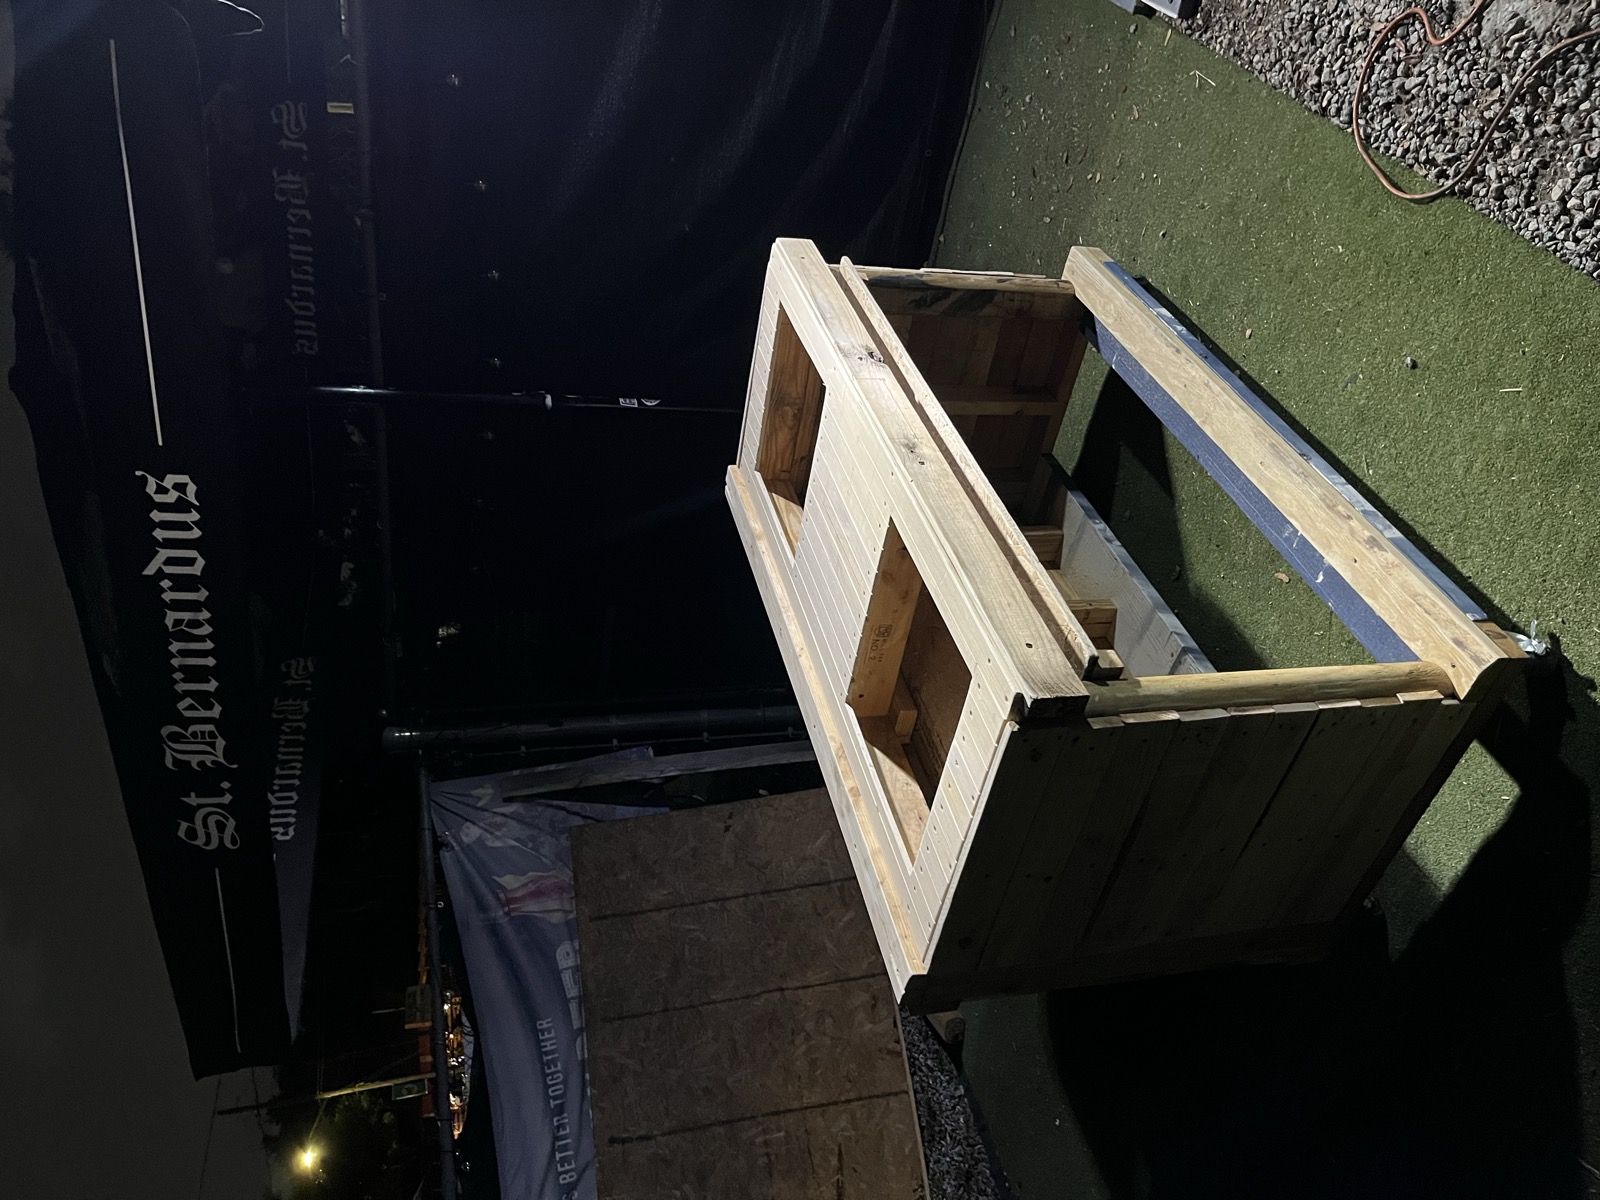
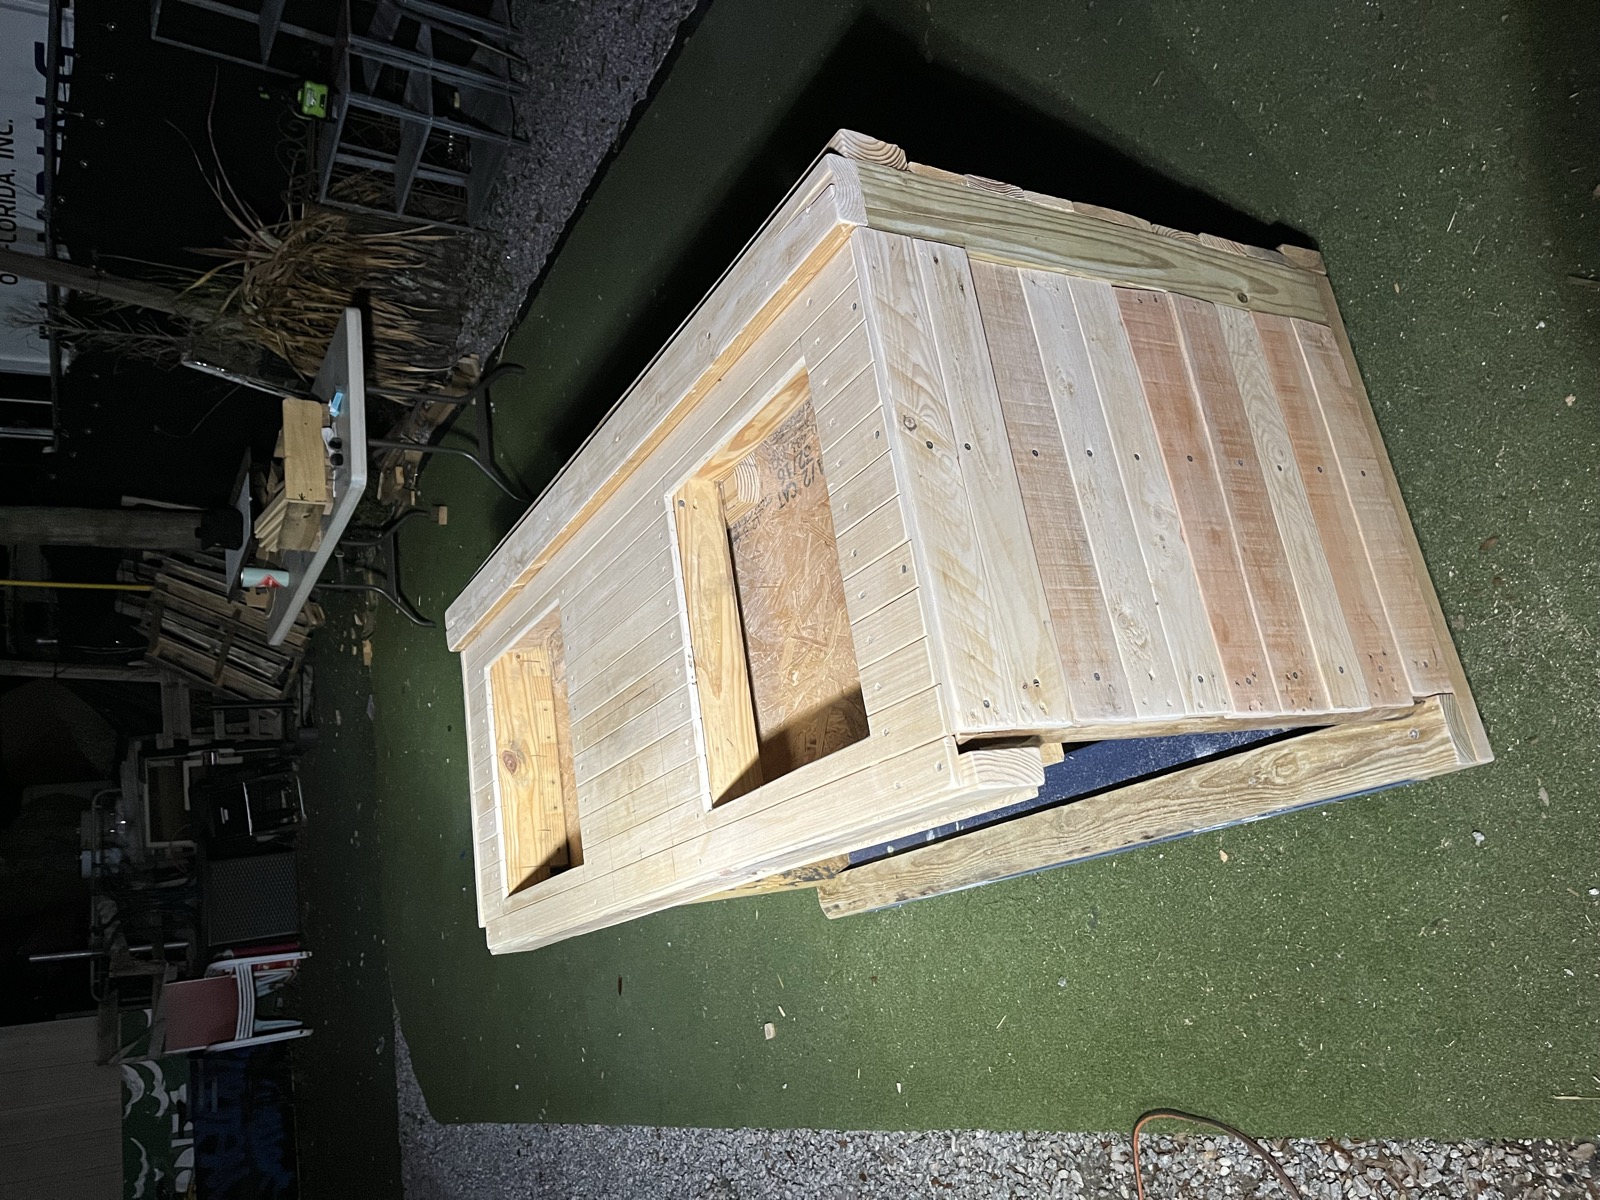
Takeaway: a build reaches "near-final" before it reaches "done." The last 10% — a precise cut, a finish coat, the install — is its own phase. Don't rush it.
Step 9 · Install — pending
9
Still ahead: confirm the mixer's exact dimensions off the actual unit (Juni Ali is bringing it to the venue), cut the recess, seal the wood for outdoor use, and install on the patio. The build isn't documented as complete until it's photographed in place and in use.
What this example teaches
| Process step | What the DJ Pallet Table showed |
|---|---|
| Source + Inspect | It all starts as a free pile of wood — value is added by the work |
| Deconstruct + Prep | The slow, unglamorous half — budget the time |
| Design & Measure | Structure first; design hardware (wheels) and equipment fit (mixer) in early |
| Cut + Assemble | Frame before surface; brace anything that could wobble |
| Finish | An irreversible cut waits until the measurement is certain |
| Install | "Near-final" is not "done" — the last phase is its own work |
Full build timeline
```mermaid gantt title DJ Pallet Table — Build Phases dateFormat YYYY-MM-DD axisFormat %b %d
section Done
Sourcing pallets        :done, src, 2026-04-15, 2d
Frame skeleton          :done, frm, 2026-04-21, 1d
Frame development       :done, frd, 2026-04-28, 2d
Top surface assembly    :done, top, 2026-05-06, 1d
Joinery push            :done, jp,  2026-05-08, 2d
Finishing & mixer layout:done, fin, 2026-05-11, 3d
Near-final state        :done, nf,  2026-05-14, 1d

section Pending
Mixer selection confirmed :done, dims, 2026-05-15, 2d
Mixer cutout (final cut) :crit, mc, after dims, 1d
Install at CBC patio     :crit, inst, after mc, 1d
Capture install + content:crit, cap, after inst, 2d
```
Completion checklist
- Confirm mixer selection — done, confirmed with Juni Ali (2026-05-16)
- Take final measurements off the actual mixer at Commission Beer Chamber
- Cut the mixer recess (irreversible — measure twice)
- Install at Commission Beer Chamber patio
- Capture installed + in-use photos (table with mixer + DJ at work)
- Curate 3–5 strongest shots for Instagram / LinkedIn
← Back to The Process · Start Here